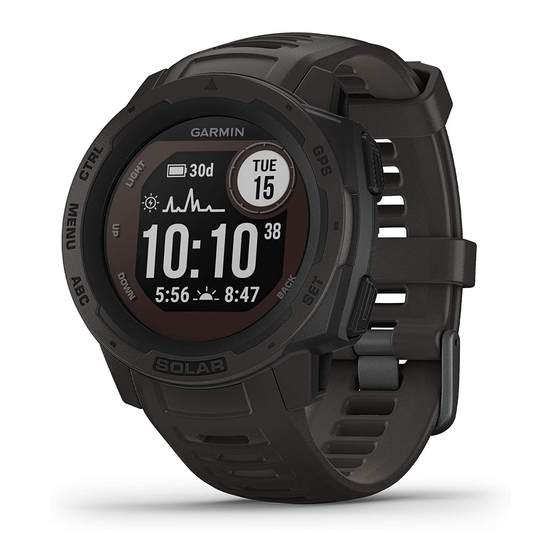
Garmin INSTINCT SOLAR Руководство пользователя - Страница 15
Просмотреть онлайн или скачать pdf Руководство пользователя для Смотреть Garmin INSTINCT SOLAR. Garmin INSTINCT SOLAR 38 страниц.
Также для Garmin INSTINCT SOLAR: Краткое руководство по эксплуатации (12 страниц)

Saving a Dual Grid Location
You can save your current location using dual grid coordinates
to navigate back to the same location later.
1
From any screen, hold GPS.
2
Select GPS.
3
If necessary, select DOWN to edit location information.
Editing Your Saved Locations
You can delete a saved location or edit its name, elevation, and
position information.
1
From the watch face, press GPS.
2
Select Navigate > Saved Locations.
3
Select a saved location.
4
Select an option to edit the location.
Viewing the Altimeter, Barometer, and
Compass
The device contains internal altimeter, barometer, and compass
sensors with automatic calibration.
1
From any screen, hold ABC.
2
Press UP or DOWN to view separate altimeter, barometer,
and compass screens.
Projecting a Waypoint
You can create a new location by projecting the distance and
bearing from your current location to a new location.
NOTE: You may need to add the Project Wpt. app to the
activities and apps list.
1
From the watch face, press GPS.
2
Select Project Wpt..
3
Press UP or DOWN to set the heading.
4
Press GPS.
5
Press DOWN to select a unit of measure.
6
Press UP to enter the distance.
7
Press GPS to save.
The projected waypoint is saved with a default name.
Navigating to a Destination
You can use your device to navigate to a destination or follow a
course.
1
From the watch face, press GPS.
2
Select an activity.
3
Hold MENU.
4
Select Navigation.
5
Select a category.
6
Respond to the on-screen prompts to choose a destination.
7
Select Go To.
Navigation information appears.
8
Press GPS to begin navigation.
Creating and Following a Course on Your
Device
1
From the watch face, press GPS.
2
Select an activity.
3
Hold MENU.
4
Select Navigation > Courses > Create New.
5
Enter a name for the course, and select
6
Select Add Location.
7
Select an option.
Navigation
8
If necessary, repeat steps 6 and 7.
9
Select Done > Do Course.
Navigation information appears.
10
Press GPS to begin navigation.
Creating a Course on Garmin Connect
Before you can create a course on the Garmin Connect app,
you must have a Garmin Connect account
page
1
From the Garmin Connect app, select
2
Select Training > Courses > Create Course.
3
Select a course type.
4
Follow the on-screen instructions.
5
Select Done.
NOTE: You can send this course to your device
Course to Your Device, page
Sending a Course to Your Device
You can send a course you created using the Garmin Connect
app to your device
page
1
From the Garmin Connect app, select
2
Select Training > Courses.
3
Select a course.
4
Select
5
Select your compatible device.
6
Follow the on-screen instructions.
Viewing or Editing Course Details
You can view or edit course details before you navigate a
course.
1
From the watch face, press GPS.
2
Select an activity.
3
Hold MENU.
4
Select Navigation > Courses.
5
Press GPS to select a course.
6
Select an option:
• To begin navigation, select Do Course.
• To view the course on the map and pan or zoom the map,
• To begin the course in reverse, select Do Course in
• To view an elevation plot of the course, select Elevation
• To change the course name, select Name.
• To edit the course path, select Edit.
• To delete the course, select Delete.
Marking and Starting Navigation to a Man
Overboard Location
You can save a man overboard (MOB) location, and
automatically start navigation back to it.
TIP: You can customize the hold function of the keys to access
the MOB function
1
From the watch face, press GPS.
2
Select an activity.
3
Hold MENU.
.
4
Select Navigation > Last MOB.
Navigation information appears.
14).
(Creating a Course on Garmin Connect,
11).
> Send to Device.
select Map.
Reverse.
Plot.
(Customizing the Hot Keys, page
(Garmin Connect,
or
.
(Sending a
11).
or
.
23).
11
