Brother HL-4040CN Руководство по быстрой настройке - Страница 30

Просмотреть онлайн или скачать pdf Руководство по быстрой настройке для Сервер печати Brother HL-4040CN. Brother HL-4040CN 35 страниц. Brother printer - laser printer user manual
Также для Brother HL-4040CN: Брошюра (4 страниц), Брошюра и технические характеристики (2 страниц), Справочный список деталей (40 страниц), Руководство по обновлению сервиса (11 страниц), Чистка и уход (7 страниц), Руководство по эксплуатации (13 страниц), Технические инструкции (6 страниц), (Датский) Руководство пользователя (35 страниц)
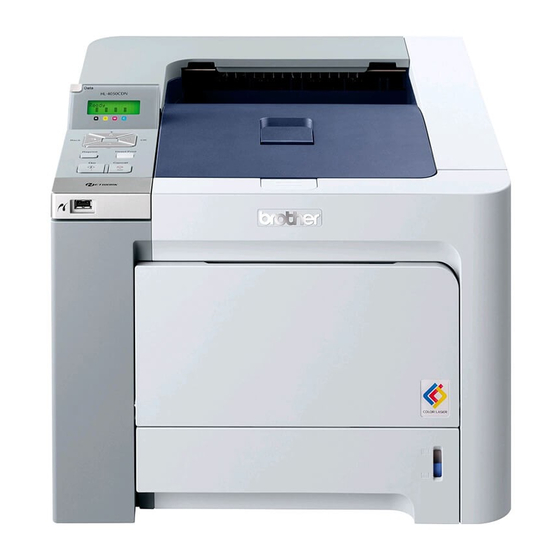
Brother HL-4040CN Руководство по быстрой настройке
For Network Users
BRAdmin Light utility (For Mac OS
2
The BRAdmin Light is a utility for initial setup of Brother network connected devices. It can also search for Brother
products on your network, view the status and configure basic network settings, such as IP address from a
computer running Mac OS
The BRAdmin Light software will be installed automatically when you install the printer driver. If you have already
installed the printer driver, you don't have to install it again. For more information on BRAdmin Light, visit us at
http://solutions.brother.com.
Setting your IP address, Subnet
Mask and Gateway using BRAdmin
Light
Note
• If you have a DHCP/BOOTP/RARP server in your
network, you don't have to do the following
operation. The print server will automatically
obtain its own IP address.
• Make sure that version 1.4.1_07 or later of Java™
client software is installed on your computer.
• The default password for the print server is
'access'. You can use BRAdmin Light to change
this password.
1
Double-click the Macintosh HD icon on your
desktop.
2
Choose Library, Printers, Brother and then
Utilities.
28
®
X 10.2.4 or greater.
®
X users)
3
Double click the file BRAdminLight.jar and
run the software. BRAdmin Light will then
search for new devices automatically.
4
Double-click the unconfigured device.
5
Choose Static for the Boot Method. Enter the
IP Address, Subnet Mask and Gateway, and
then click OK.
6
The address information will be saved to the
printer.