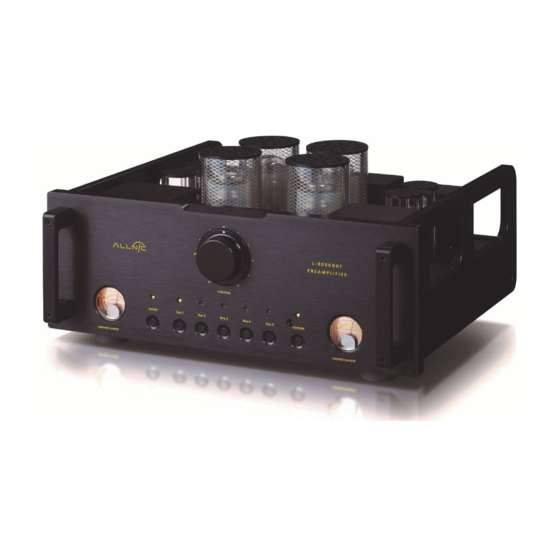
ALLNIC AUDIO L-8000 DHT Руководство пользователя - Страница 11
Просмотреть онлайн или скачать pdf Руководство пользователя для Усилитель ALLNIC AUDIO L-8000 DHT. ALLNIC AUDIO L-8000 DHT 16 страниц. Line-stage preamplifier

INITIAL POWER-ON
Once you have your L-8000 DHT in place and all connections have been made to your sources
and amplifier(s) and the power cord is installed and plugged into an AC receptacle, you are
ready to turn on the power for your L-8000 DHT. Before you power up the L-8000 DHT, though,
be sure you have:
CAREFULLY AND SLOWLY removed ALL the cardboard cushion materials from inside the
•
tube chimneys
•
ensured the batteries are in the remote control – if not, insert the batteries (by removing
plate on the bottom of the remote control).
selected the output connections that you want to use, single ended (RCA) or balanced (XLR),
•
on the switch at top centre on the back of the preamplifier
turned the volume down on or muted the L-8000 DHT
•
checked that all your connections are snug
•
Also, be sure you have manually turned the volume control on the front panel to the extreme
counter-clockwise position (minimum volume).
Push the power on-off switch to the left of the IEC connector (facing the left side of the unit as
in Figure 1) so it is in the "on position". That will power up the L-8000 DHT. From this point on,
you need only use the far left hand button marked "power" on the front panel or the power
button on the remote control to turn the L-8000 DHT on and off. Once the power has been
turned on, the following will happen on the front panel (Please see Figure 5):
•
the light above the "power" button will illuminate
the meters on the front panel will illuminate
•
the light over the line source button that is depressed will illuminate
•
after about 40 seconds, the light over the "operate" button will illuminate. The L-8000
•
DHT has a "soft start" delay for the tubes in order to extend tube life.
The Allnic Audio L-8000 DHT is now ready for operation. At this point, you can power on your
sources and, finally, your stereo power amplifier or mono-blocks.
11
