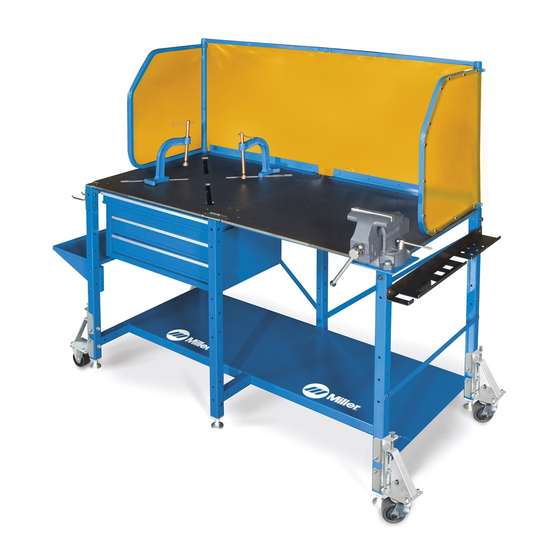
Miller ArcStation Руководство пользователя - Страница 8
Просмотреть онлайн или скачать pdf Руководство пользователя для Сварочные принадлежности Miller ArcStation. Miller ArcStation 20 страниц.
Также для Miller ArcStation: Руководство пользователя (44 страниц)

3-2. Installing Tool Chest Under X-Pattern Top
1
CC
1
OM-247318 Page 4
3
Measure
Measure
Removing Dust Tray And Rails
.
Skip this section if dust tray is
not present.
Remove dust tray from rails as
follows:
1
Dust Tray
2
Dust Tray Rails
S Remove dust tray from rails.
S Slide tray out.
S Lift front of tray up.
S Pull tray out from rails.
S Remove rails from welding
table. Retain hardware.
Installing Tool Chest
.
For X-pattern top, use rails that
came with the dust tray and
2
hardware that came with the tool
chest. Brackets included with
tool chest are not needed with
dust tray.
3
Tool Chest
Use four bolts CC that came with the
tool chest and attach dust tray rails
to top of tool chest.
Do not tighten bolts at this time.
Measure distance between inside of
the leg assemblies at locations
shown.
Measure and set the outside dis-
tance of brackets 1/16 in. (1.6 mm)
less than the leg assembly mea-
AA and ZZ
surements.
Tighten bracket bolts and verify cor-
rect measurements.
Do not install dust tray at this time.
!
Use two people to raise tool
chest/rail assembly.
Raise tool chest/rail assembly into
position; rails should be inside of an-
gle iron on subframes.
Use the retained bolts AA and lock-
nuts ZZ previously removed to at-
tach rails to welding table.
Tighten all hardware at this time.
Side View
Install dust tray into rail slides as fol-
lows:
S Tilt rear of tray down and lift front
of tray up.
S Place flange on rear of tray be-
hind angle iron support.
S Lower front of tray until approxi-
mately level.
S Slide tray into position.
hex bit 3/16 in.
Tools Needed:
1/2 in.
