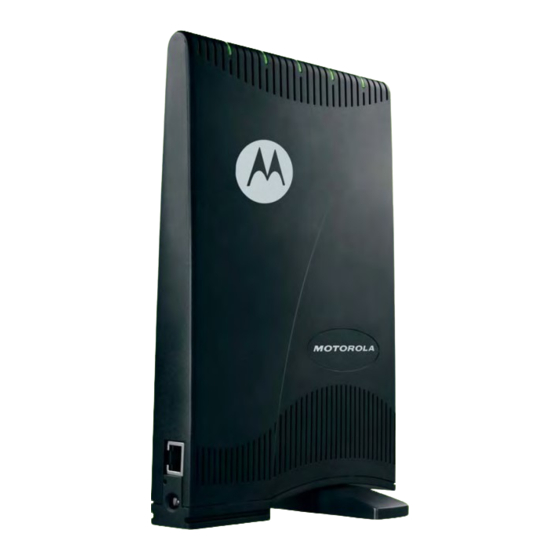
Motorola CPEI 25150 Руководство пользователя - Страница 10
Просмотреть онлайн или скачать pdf Руководство пользователя для Модем Motorola CPEI 25150. Motorola CPEI 25150 37 страниц. 4g desktop modem
Также для Motorola CPEI 25150: Начать (4 страниц)

There are six main menus in the GUI:
Personalize
Internet
Status
Port Forwarding
Local Address
Control Panel
The following buttons appear at the bottom of each configuration page:
Apply
Undo
Next
Refresh
Auto Refresh
Wizard
Note:
Illustrations in this manual containing an image of what you see on your computer screen are for reference
purposes only. Values shown in the illustrations in this manual may be different from what you see on your computer
screen.
Menu Tab
Button
Description
Use this menu to set up your password,
device time and device name. You can also
abandon your personal settings by clicking
Restore Factory Settings
Use this menu to configure internet
connection settings, including
Authentication, Protocol, Firewall, and
Dynamic DNS.
Use this menu to display network status,
including WiMAX, Internet, LAN, and Device
Information.
Use this menu to enable Universal Plug and
Play (UPnP) Internet Gateway Device (IGD)
profile to allow certain Windows
applications to setup the port forwarding
rule dynamically when NAT is enabled on
this device.
Use this menu to display the IP Address and
netmask address in the local network.
Use this menu to manage the device
software.
Function
Saves your changes. If you restart your
modem without saving your changes, all
changes are lost. After the device restarts,
the last saved configuration is used.
Clears your changes on the current page
and returns to the main menu. Once you
click
Apply
, the Undo button will NOT clear
your changes.
Confirms the current setting and moves on
to the next screen.
Manually updates current status page.
Updates automatically without needing you
to refresh manually.
Starts Setup Wizard manually if your
modem did not run the setup program
automatically.
Section 2: Installation and Setup
.
7
