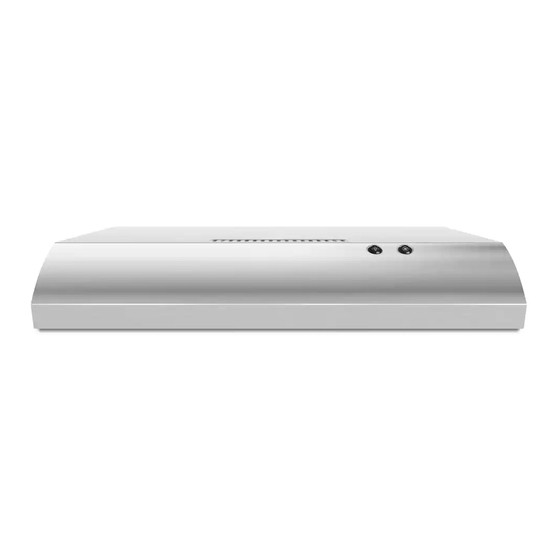
Whirlpool UXT4030AY Инструкции по установке и руководство по эксплуатации и уходу - Страница 6
Просмотреть онлайн или скачать pdf Инструкции по установке и руководство по эксплуатации и уходу для Вентиляционная вытяжка Whirlpool UXT4030AY. Whirlpool UXT4030AY 24 страницы. 30" (76.2 cm) and 36" (91.4 cm) range hood
Также для Whirlpool UXT4030AY: Инструкция по установке и руководство по эксплуатации и уходу (32 страниц), Инструкции по установке и руководство по эксплуатации и уходу (36 страниц)

Prepare Location
NOTE: Before making cutouts, make sure there is proper
clearance within the ceiling or wall.
1. Disconnect power.
2. Select a flat surface for assembling the range hood. Place
covering over that surface.
3. Lift the range hood and set it upside down onto covered
surface.
4. If cabinet has recessed bottom, add wood filler strips on each
side. Install screws to attach filler strips in locations shown.
3" (7.6 cm)
3" (7.6 cm)
Wall
Determine Wiring Hole Location
Cut only one 1¹⁄₄" (3.2 cm) diameter wiring access hole.
1. Determine and clearly mark a vertical centerline on the wall
and cabinet in the area the vent opening will be made.
A. Centerline
To wire through top:
1. Mark a line distance "A" from the right of the centerline on the
underside of the cabinet. Mark the point on this line that is
2" (5.1 cm) from back wall. Drill a 1¼" (3.2 cm) diameter hole
through the cabinet at this point.
A. 8³⁄₈" (21.3 cm)
6
INSTALLATION INSTRUCTIONS
Wood filler strips
(recessed cabinet
bottoms only)
Cabinet
bottom
A
2" (5.1 cm)
A
from wall,
not cabinet
frame
Centerline
To wire through wall:
1. Mark a line distance "A" from the right of the centerline on the
underside of the wall. Mark the point on this line that is ⁷⁄₈"
(2.2 cm) from the underside of the cabinet. Drill a 1¹⁄₄"
(3.2 cm) diameter hole through the rear wall at this point.
A. 8³⁄₈" (21.3 cm)
Install Range Hood
1. Lift the range hood up under cabinet and determine final
location by centering beneath cabinet. Mark on the underside
of cabinet the location of the 4 keyhole mounting slots on the
range hood. Set range hood aside on a covered surface.
A
A. Keyhole slot
2. Use ¹⁄₈" (3 mm) drill bit and drill 4 pilot holes as shown.
A. Drill pilot hole
3. Install the 4 - 4.5 mm x 13 mm mounting screws in pilot
holes. Leave about ¹⁄₄" (6.4 mm) space between screw heads
and cabinet to slide range hood into place.
Non-vent (recirculating) installations - Do not remove any
knockouts.
⁷⁄₈" (2.2 cm)
A
Centerline
A
¹⁄₄"
(6.4 mm)
