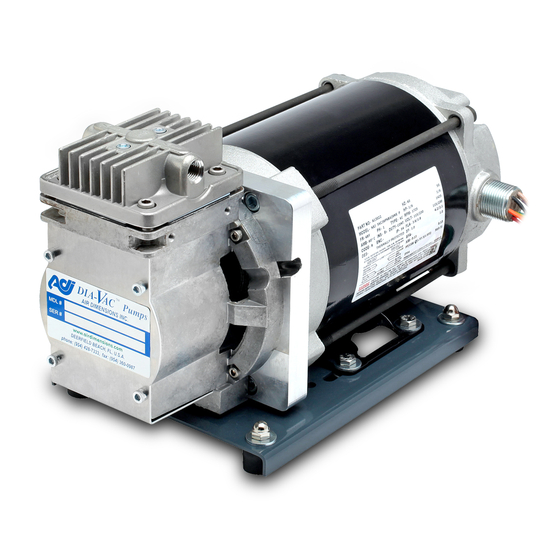
Air Dimensions Incorporated Dia-Vac R Series Kullanım Talimatları Kılavuzu - Sayfa 6
Su Pompası Air Dimensions Incorporated Dia-Vac R Series için çevrimiçi göz atın veya pdf Kullanım Talimatları Kılavuzu indirin. Air Dimensions Incorporated Dia-Vac R Series 11 sayfaları. Elevated/extended pump with explosion proof motor

practice, the valve discs and valve gasket should be replaced during any routine maintenance check of the
head section. A once a year routine procedure is recommended.
The diaphragm is secured by the single screw in its center. Remove this screw with an Allen wrench. The
diaphragm and its clamping plate should be easily lifted off. Some slight adherence to the metal may occur
if the diaphragm has been in use for a long period.
To reattach diaphragm, first insert the diaphragm plate screw through the Teflon® washer, then through
the diaphragm plate, then finally through the diaphragm. Next apply a drop of a medium strength thread
locker (such as Loctite®242) to the screw. Tighten the diaphragm plate screw into the connecting rod bolt.
NOTE: When replacing the diaphragm, be sure the four projecting studs of the base casting are properly
located in the four outer slots provided in the diaphragm before the part is clamped in place. Be sure the
diaphragm plate is firmly fastened with its center screw. Failure to use a thread locker may result in the
diaphragm plate screw backing out, resulting in damage to the pump.
If a problem occurs, the pump may require inspection at the ADI facility. To have your pump inspected
and repaired at the ADI facility please follow the instructions on the ADI website located at
http://www.airdimensions.com/service/rma/.
Disassembly of the Connecting Rod
Remove head assembly and service diaphragm as described in the section above.
Using a hex socket wrench, remove the hex head bolt on the connecting rod top surface. This will release
the connecting rod cap which may then be lifted off.
The previous two steps should be repeated for every head of the pump.
Remove the front plate (single head)/second stage housing (double and quad head) from the primary
stage housing by removing the four retaining screws using an Allen wrench.
The connecting rod assembly on single head units, including the counterweight, is held in place by the
counterweight screw. This can be loosened by an Allen wrench. The connecting rod assembly may then
be slid off the motor shaft. On the dual head units the assembly is held in place by the set screw. This can
be loosened by an Allen wrench and the assembly may then be slid off the motor shaft.
Due to the complicated nature of the quad head pump it is highly recommended that the pump is shipped
back to the ADI facility for any connecting rod maintenance.
Replacement of the Connecting Rod
Replace the connecting rod assembly on the motor shaft, taking care to align set screw or counterweight
screw as squarely as possible on the flat of the motor shaft.
Replace the connecting rod cap and connecting rod bolt. Tighten this assembly to 150 in‐lbs. using a
torque wrench.
The torque specifications for this pump can be found in Appendix A.
6
