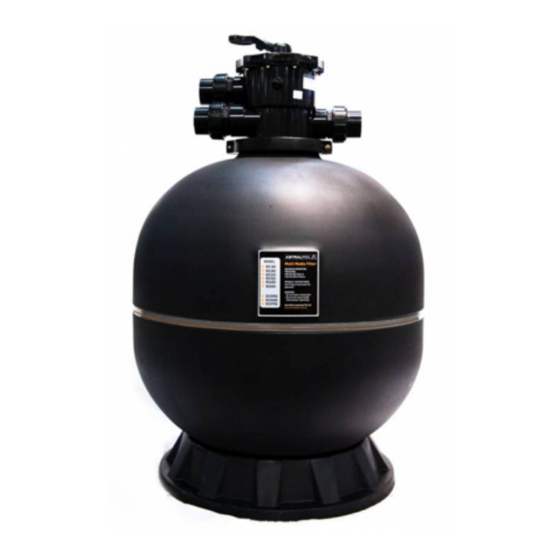
Astralpool Eco 750 Kurulum ve Kullanım Talimatları Kılavuzu - Sayfa 3
Yüzme Havuzu Filtresi Astralpool Eco 750 için çevrimiçi göz atın veya pdf Kurulum ve Kullanım Talimatları Kılavuzu indirin. Astralpool Eco 750 8 sayfaları. Astralpool rx series & e series sand filters

GENERAL NOTES
1. When unpacking the filter, be sure the unit is complete and no visible shipping damage has occurred.
2. Allow sufficient clearance around filter system for access and maintenance.
3. Provide adequate ventilation for pumping equipment, installed in conjunction with filter.
4. Provide solid mounting for filter and pump. If installed outdoors, install the system on a slab or solid
concrete base to avoid risk of settlement. Filter systems once located with media can exceed a weight of
250 kg. If installed indoors, ensure doorway allows sufficient clearance should filter tank require replacing.
5. Installation of filters and pumps should be located as close to the pool as possible to avoid excessive
piping friction loss.
6. If system is installed below pool level it is important to install isolating valves to prevent risk of flooding
from back up water, from the pool or spa.
7. The proper media selection is critical to good filter performance. Ensure that the media is an approved
form of Quartz Silica, glass or Zeolite.
8. The installation of filters requires no special tools.
9. Confirm that plumbing lines from pool are correctly identified. This will ensure proper connection to
markings on filter valve (i.e. "Pump", "Waste", and "Return").
LOADING FILTER MEDIA
Once the filter system has been positioned, the installation of filter media may be undertaken as follows:
1. Check filter size in order to determine necessary amount of media required.
2. Double check that the internal system consisting of a lateral hub and stand pipe are intact inside the tank.
3. Fill tank half full with water.
4. Place the disposable loading disc into the upper tank opening and the plastic cover over stand pipe to
stabilise the filter and stand pipe. It is important that the stand pipe remains centered through the media
loading procedure to ensure alignment with valve assembly opening.
5. Proceed to load correct volume of dry media slowly (if media is saturated loading can be difficult).
6. Once media is loaded discard loading disc and check to determine if stand pipe is properly centered in
tank opening.
INSTALLATION OF SELECTOR VALVE
1. Following the media loading, clean any media particles or debris from upper surface of tank opening.
2. Install six (6) position selector valve after placing O-Ring in cavity in underside of valve body. Place valve
into tank opening while ensuring that the O-Ring has remained in position.
3. Install selector valve into top tank opening and rotate valve to best suit plumbing lines. Once positioned, fit
clamp band assembly around neck of filter and valve and tighten sufficiently for good engagement. Note:
It is not necessary to over tighten.
4. Double check that incoming pool lines are connected to appropriate valve openings as marked on valve
port (i.e. pump, return (pool) and waste).
5. The threaded openings on valve are 40mm or 50mm thread which all accommodate Astral Pool barrel
unions supplied with the filter. O-rings are supplied to fit between the multiport valve and barrel union. It
is only necessary to tighten by hand. The use of Teflon tape is not required.
6.
Remove plug from side wall of valve and install threaded pressure gauge using Teflon tape wrap (do not
over tighten). Minimal hand tightening is adequate to provide a good seal.
Inst.246 RX Series & E Series Sand Filter V01.15
3
