GREAT PLANES Combat Corsair Kullanım Kılavuzu - Sayfa 14
Oyuncak GREAT PLANES Combat Corsair için çevrimiçi göz atın veya pdf Kullanım Kılavuzu indirin. GREAT PLANES Combat Corsair 20 sayfaları. 1/12 scale ama event 750, class 2610 arf
Install the Canopy and Tail Cone
1. If you will be installing a pilot, do this before installing
the canopy. Glue the canopy to the fuselage with Z-56
Canopy Glue or any good aliphatic glue.
2. Test fit the tail cone to the fuselage. Cut the tail cone
to fit over the elevator joiner wire. Cut a small strip of
covering from the back of the fuselage to give a gluing
surface for the tail cone.
3. Glue the tail cone to the fuselage.
Install the Radio
Refer to this photograph for the following five steps.
1. Plug the servos into the proper ports in the receiver.
Install a strain relief made from a servo horn as shown in the
sketch. Install the antenna through the antenna tube.
2. Install the radio switch harness and charge jack. We
used the Ernst Charge Receptacle (ERNM3001) to the side
of the fuselage opposite the muffler.
3. Plug the switch into the battery. Secure the connectors
with a piece of shrink tube or some other method to keep
them from coming unplugged.
4. Wrap the receiver and the battery in 1/4" [6mm] foam.
Secure them inside the fuselage with the balsa stick
included in the kit.
5. Turn on the radio system and make any adjustments
required to the elevator and throttle pushrods.
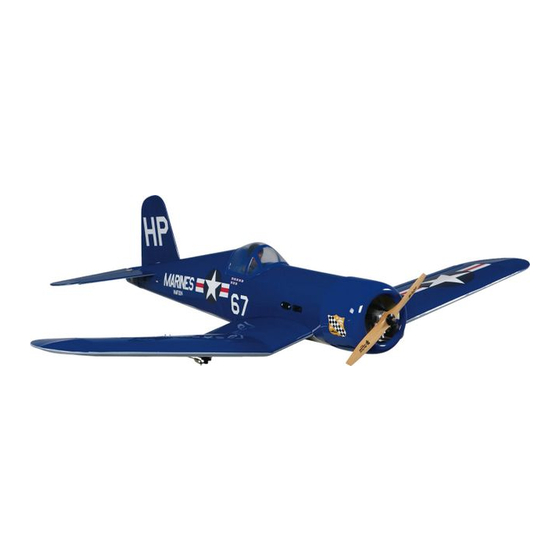
Apply the Decals
1. Use scissors or a sharp hobby knife to cut the decals
from the sheet.
2. Be certain the model is clean and free from oily
fingerprints and dust. Prepare a dishpan or small bucket with
a mixture of liquid dish soap and warm water—about one
teaspoon of soap per gallon of water. Submerse the decal in
the soap and water and peel off the paper backing. Note:
Even though the decals have a "sticky-back" and are not the
water transfer type, submersing them in soap & water allows
accurate positioning and reduces air bubbles underneath.
3. Position decal on the model where desired. Holding the
decal down, use a paper towel to wipe most of the water away.
4. Use a piece of soft balsa or something similar to
squeegee remaining water from under the decal. Apply the
rest of the decals the same way.
14