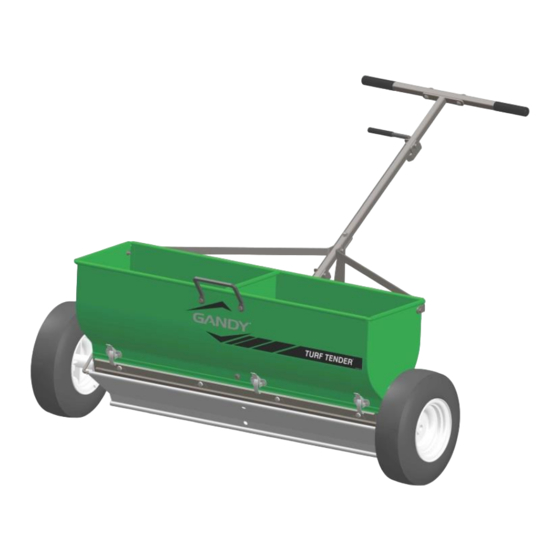
Gandy 24H12 Operatör El Kitabı - Sayfa 6
Serpme Gandy 24H12 için çevrimiçi göz atın veya pdf Operatör El Kitabı indirin. Gandy 24H12 10 sayfaları. 24” & 36” spreaders
Ayrıca Gandy 24H12 için: Operatör El Kitabı (8 sayfalar), Operatör El Kitabı (8 sayfalar)

Maintenance & Cleaning For Gandy 24" & 36" Turf Tender®
General Maintenance:
Check all bolts for tightness periodically.
Always empty hopper when finished.
Never leave fertilizer, chemical or treated seed in the spreader.
These materials can corrode and/or rust the spreader.
Cleaning:
Always follow all safety guide lines listed on the product label of material used in spreader when cleaning.
Untreated Seed:
No coating (chemical / fertilizer) on seed.
If spreader is only used for seeding untreated seed and the shut-off lever moves freely all that is needed to do
is wipe out or rinse out the seed dust and let the spreader dry before using again.
Chemical, Fertilizer or Treated Seed:
(For detailed drawings see Parts & Assembly Manual that was supplied with spreader)
1. With spreader empty turn spreader over so the bottom faces up.
2. Remove both tires.
3. Remove the spread plate by removing the wing nuts and washers holding the bearing retainers in place.
4. With the spread plate and bearing retainers removed, un-snap and un-hook the latches holding the
stainless bottom in place.
Note: There are 6 latches (3 each side) on the 36" spreader and 4 latches (2 each side) on the 24" spreader.
With the latches un-hooked, grab the bottom on one end and pull straight up to remove the bottom.
5. Remove the bearings, rotor bars and end washers (on ends of rotor bar) from the spreader.
6. Wipe & clean all parts including spreader hopper. Clean all material out of the center and end bearings.
Note: See Bottom Disassembly instruction on Page #5.
7. After cleaning the bearings, place a few drops of light oil on the inside of each bearing.
Note: The bearings are porous and will absorb small amounts of oil.
Note: The center and end bearings do not turn. The shaft turns inside the bearing.
Some materials have fine powder in the mixture, so it may be necessary to oil the bearings more often to
prevent powder from working into the bearings.
All parts need to be completely dry before reassembling.
8. Install end washers back on long ends of rotor bars. Reassemble rotor bars and bearings back on spreader.
9. Reinstall and center the stainless bottom on the spreader making sure the cam gauge is on the
handle/hitch side and the shut-off lever is in the U-notch.
Hook all the latches back onto the bottom and snap into place.
10. Reinstall tires.
11. Turn spreader upright on it tires and reconnect spread plate chain.
12. Open and close shut-off lever. If shut-off lever operates hard the bottom can be adjusted to operate easier.
(Similarly to Step #6 in the bottom disassembly instructions)
From the side opposite the cam gauge loosen the 3/6" flange nuts. Un-snap the latches on this side only
and tap the rear hanger to your right about 1/16" inch. Retighten 3/16" nuts, re-snap latches and try shut-
off lever again. Repeat if needed until shut-off lever operates smoothly.
It is recommended to do a more thorough cleaning.
~4 ~
