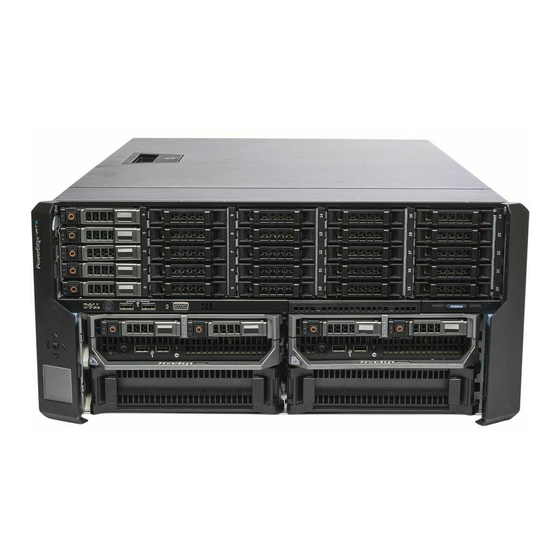
Dell poweredge VRTX Kullanıcı Kılavuzu - Sayfa 17
Anahtar Dell poweredge VRTX için çevrimiçi göz atın veya pdf Kullanıcı Kılavuzu indirin. Dell poweredge VRTX 35 sayfaları. Server
Ayrıca Dell poweredge VRTX için: Başlangıç Kılavuzu (30 sayfalar), Yayın Notu (5 sayfalar), Başlangıç Kılavuzu (14 sayfalar), Hızlı Başlangıç ve Referans Kılavuzu (2 sayfalar), Teknik Kılavuz (45 sayfalar), Başlarken (2 sayfalar)

Deploying The Shared PERC 8 Card
CAUTION: Many repairs may only be done by a certified service technician. You should only perform
troubleshooting and simple repairs as authorized in your product documentation, or as directed by the online or
telephone service and support team. Damage due to servicing that is not authorized by Dell is not covered by your
warranty. Read and follow the safety instructions that came with the system.
NOTE: For information on removing and reinstalling system parts, see the
dell.com/support/manuals.
This document provides a set of high-level installation and removal instructions for the Shared PERC 8 card. The
controller must be installed in the Shared PERC slot 1 of the chassis.
NOTE: Ensure the server modules are gracefully shutdown before you perform an upgrade.
NOTE: The Shared PERC slot is labeled as INT_STORAGE_1 on the PowerEdge VRTX system board. To locate the
Shared PERC slot, see System Board Connectors in the Dell PowerEdge VRTX enclosure's Owner's Manual at
dell.com/support/manuals.
Removing The Shared PERC 8 Controller
To remove the Shared PERC 8 controller:
1.
Perform a controlled shutdown of the system and attached peripherals.
2.
Disconnect the system from the electrical outlet and remove the system cover.
3.
Remove the storage controller from the Shared PERC 8 slot of the system.
CAUTION: When removing or replacing the Shared PERC 8 controller, hold the card by its edges marked by
the blue touch points. Do not handle the card while holding the battery or the heatsink.
Owner's Manual of the system at
3
17
