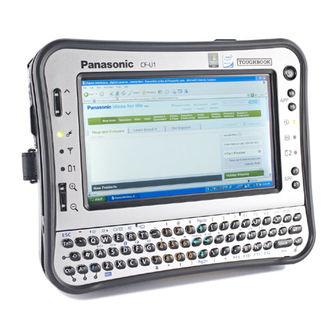
Panasonic CF-U1 series Ek Bilgi - Sayfa 19
Dijital Kamera Panasonic CF-U1 series için çevrimiçi göz atın veya pdf Ek Bilgi indirin. Panasonic CF-U1 series 25 sayfaları. Supplementary instructions for hspa modem
Ayrıca Panasonic CF-U1 series için: Şartname Sayfası (2 sayfalar), Tamamlayıcı Talimatlar Kılavuzu (12 sayfalar), Tamamlayıcı Talimatlar Kılavuzu (12 sayfalar), Tamamlayıcı Talimatlar Kılavuzu (8 sayfalar), Tamamlayıcı Talimatlar Kılavuzu (17 sayfalar)

Barcode Configuration Utility
Data Configuration
1
Click [Data Configuration].
2
Make configuration for the following settings.
Add Prefix:
Add Suffix:
Enable AIM Symbology:You can add the character string to identify the barcode type (Symbology) to the data from
Rules:
NOTE
If the input column is left blank, or the number of characters entered exceeds the maximum limit in the [Add Action]
setting, an error message appears. In this case, click [OK] to close the menu and make the setting again. Or, click
[Cancel] and close the [Add Action] screen.
To change the Action already registered, delete Action for [Remove Action] and then register again for [Add Action].
A character string can be added before the
barcode information.
You can add a control character, such as
<ACK>, by clicking the
<For 1D Barcode Reader Only>
Only one character can be assigned to the
prefix.
A character string can be added after the
barcode information.
You can add a control character, such as
<ACK>, by clicking the
You can add a <TAB> to the character
string in the input field by clicking [Add Tab Key].
You can add a <CR> code to the character string in the input field by clicking [Add Enter Key].
<For 1D Barcode Reader Only>
Only two characters can be assigned to the suffix.
the barcode module.
You can set the rule for how to process character strings when reading the barcode data.
There can only be one action per scenario.
Select [Scenario].
A
Select [True] in the [Active] column to enable the scenario.
B
Specify the applicable barcode in the following method if necessary.
C
[Symbology]:
Apply the Scenario to the selected barcode type only. To enable
this function, add the check mark for [Enable AIM Symbology].
[Character Length]: Apply the Scenario to the barcode with the specified length only.
[Mask]:
Apply the Scenario to the barcode including the specified
character string only.
Click [Add Action].
D
Click
and select an action.
E
Change to preferred settings and click [Add].
F
The rules appear in the chart with the necessary information for the action.
If the necessary information is not entered correctly, an error message will occur and
the action will not be placed in the chart.
button.
button.
19
