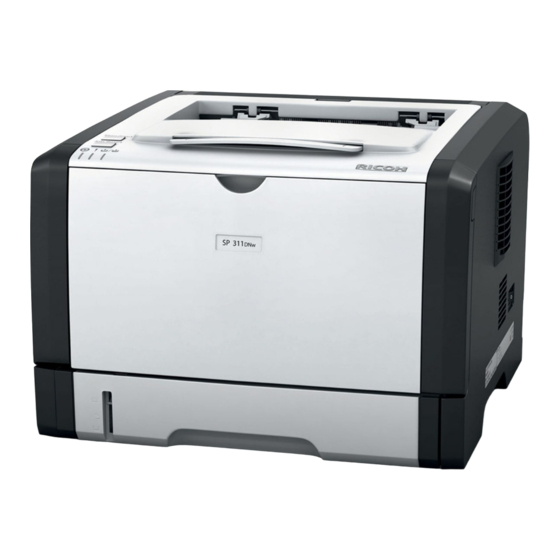
Ricoh SP 311DNW Başlangıç Kılavuzu - Sayfa 38
Yazıcı Ricoh SP 311DNW için çevrimiçi göz atın veya pdf Başlangıç Kılavuzu indirin. Ricoh SP 311DNW 45 sayfaları. Network settings guide
Ayrıca Ricoh SP 311DNW için: Hızlı Kurulum Kılavuzu (2 sayfalar), Teknik Özellikler (4 sayfalar), Kurulum Kılavuzu (2 sayfalar)

2. Select [User Tools] tab.
3. Click [Printer Configuration].
4. Enter Password (Default: Admin), and press [Enter] or click [OK].
5. Select [Wireless] tab.
6. With [Manual Setup] selected under Configuration
Method, enter Wireless LAN Settings to match
those of your Wi-Fi router, as outlined below.
Setting
SSID Enter the SSID name (up to 32 characters).
Communication
Mode
Ad Hoc Channel If Ad Hoc is selected for Communication Mode, select the Ad Hoc channel.
If necessary, select [Infrastructure].
Note:
Ad-Hoc mode, also known as "peer-to-peer" mode, is supported. Ad-Hoc networks
•
do not require a centralized access point. Instead, devices on the wireless network
connect directly to each other. For instance, if you set up the two laptops in Ad-Hoc
wireless mode, they would connect directly to each other, without the need for a
centralized access point. This would be useful for a temporary connection, e.g.,
you're away from the office/home and need to connect two devices via a Wi-Fi
connection to exchange files or other information when there is no other Wi-Fi
network to connect both devices to.
RICOH SP 311DNw B&W Network Laser Printer
Description
Getting Started Guide
38
