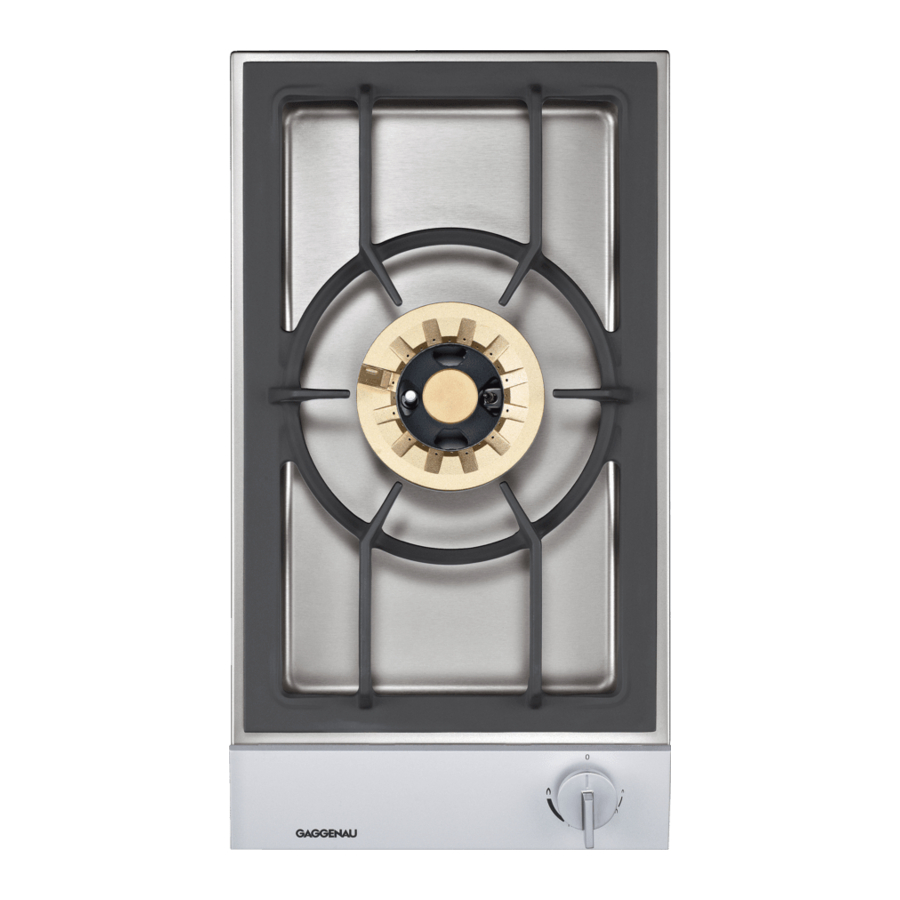
Gaggenau VG 231 334 SG Інструкція з монтажу - Сторінка 4
Переглянути онлайн або завантажити pdf Інструкція з монтажу для Варильна поверхня Gaggenau VG 231 334 SG. Gaggenau VG 231 334 SG 4 сторінки. Gas wok
Також для Gaggenau VG 231 334 SG: Інструкція з експлуатації (12 сторінок)
Conversion to another type of gas
This gas hob corresponds to the categories specified on the
rating plate. It is possible to convert the appliance to any of the
gases listed on the plate by changing the nozzles. The
modification kit can be ordered via our after-sales service.
Depending on the model the parts required may beincluded in
the scope of delivery.
The conversion must be carried out by a licensed and trained
technician.
Before carrying out the conversion, turn off the electricity and
gas supply.
Changing the low burn nozzle:
Remove pan support and all burner parts.
1.
Unscrew two fastening screws (Torx T20) and remove
2.
stovetop.
Remove control knob. Remove control panel: Unscrew the two
3.
upper, lateral fastening screws (Torx T20). Raise control panel
in the rear and push it forward. Remove switch cover.
The low burn nozzle is located in the gas valve and is screwed
4.
in from above. For easier accessibility, turn switch or remove
securing ring and remove switch. Unscrew the nozzle and
insert the new nozzle as specified in the low-setting nozzle
table. The nozzle must be screwed in fully.
Put switch, securing ring, switch cover and control panel back
5.
in place and screw them tight. Put on control knob
Changing the full burn nozzle:
Remove securing clips on the burner pipes. Remove burner
1.
pipes. Loosen screw on air-regulating tube. Remove nozzle
fitting
Remove nozzle and O-ring for inner circular burner by hand.
2.
Unscrew nozzle for outer circular burner (SW10).
Check that O-ring is correctly positioned in new full-burn nozzle
3.
for inner circular burner. Push nozzle onto burner pipe. Screw
new main nozzle for outer circular burner all the way into nozzle
fitting.
Put on nozzle fitting and burner pipes. Put on securing clips.
4.
Set air-regulating tube to correct dimension after loosening the
5.
screw (see nozzle table). Tighten screw again.
Put stovetop in place and screw it tight. Put burner parts and
6.
pan support in place, positioning them correctly.
If it should be necessary to correct the low-setting nozzle as the
result of deviating gas types and pressure, the flow rate can be
increased by turning to the left.
These burners do not require the primary air to be adjusted.
Checking functions after the conversion:
The flames are adjusted correctly if no yellow tips are visible
and if they do not go out when switching over swiftly from the
high to the low setting.
Note: stick the adhesive label included with the nozzle set over
the rating plate of the appliance to document the changeover to
a different gas type.