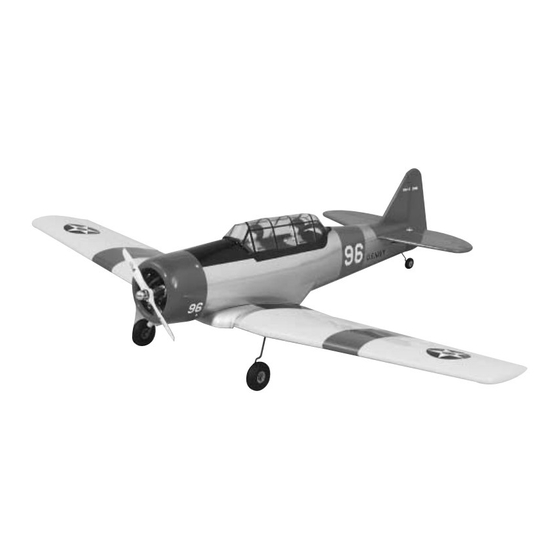
GREAT PLANES AT-6 Texan Інструкція з експлуатації - Сторінка 11
Переглянути онлайн або завантажити pdf Інструкція з експлуатації для Іграшка GREAT PLANES AT-6 Texan. GREAT PLANES AT-6 Texan 20 сторінок. Legendary warbirds custom-wood series

slide easily into the tube. Screw a nylon clevis on the
pushrod about 14 turns and add a silicone retainer to the
clevis. Trim the bottom hole from a control horn as shown in
the photo and attach the clevis to the outermost hole.
HINGE LINE
CORRECT
13. Install the rudder nylon control horn in line with the
pushrod. Hold the horn in position and mark the location of
the mounting holes. Drill 3/32" (2.4mm) mounting holes
through the marks. Wick two to three drops of Thin CA into
the holes to harden the underlying balsa, then redrill the
holes. Attach the horns using 2-56 x 5/8" Machine Screws
and Nylon Nut Plates. Do not over-tighten the screws,
crushing the underlying balsa.
14. Center the rudder and rudder servo and mark the
pushrod where it crosses the servo arm. Enlarge the servo
horn hole with a 5/64" (2mm) drill bit.
15. Make a 90-degree bend in the pushrod on your
mark, then insert it through the enlarged hole in the servo
arm. Secure the wire in place with a nylon FasLink pushrod
keeper. Trim the excess wire just above the FasLink. Use
the photo showing the installation of the aileron linkage
for clarification.
16. Insert the remaining two 2-56 x 36" threaded end
rods into the elevator tubes in the fuselage. Screw a nylon
clevis on each of the pushrods about 14 turns and add
silicone retainers to the clevises.
INCORRECT
17. Install the elevator nylon control horns in line with the
pushrods. Hold the horns in position and mark the location
of the mounting holes. Drill 3/32" (2.4mm) mounting holes
through the marks. Wick two to three drops of Thin CA into
the holes to harden the underlying balsa, then redrill the
holes. Attach the horns using four 2-56 x 5/8" machine
screws and nylon nut plates. Do not over-tighten the
screws, crushing the underlying balsa.
18. Center one of the elevators and elevator servo and
mark the pushrod where it crosses the servo arm. Enlarge
the servo horn hole with a 5/64" (2mm) drill bit.
19. Slide two of the 5/32" Wheel Collars onto the
pushrod wire that will attach to the elevator servo. Make a
90-degree bend in the pushrod on your mark, then insert it
through the enlarged hole in the servo arm. Secure the wire
in place with a nylon FasLink Pushrod Keeper. Trim the
excess wire just above the FasLink.
20. While keeping both elevators centered, connect the
two elevator pushrods to each other with two 5/32" wheel
collars and two 6-32 x 1/4" Socket Head Cap Screws as
shown in the photo. Use threadlock on the screws to
prevent loosening.
11
