AFL Hyperscale U Series Посібник з монтажу - Сторінка 9

Переглянути онлайн або завантажити pdf Посібник з монтажу для Контролер AFL Hyperscale U Series. AFL Hyperscale U Series 20 сторінок. Front-access v-panel
Також для AFL Hyperscale U Series: Посібник з монтажу (8 сторінок), Посібник з монтажу (16 сторінок), Посібник з монтажу (8 сторінок), Посібник з монтажу (8 сторінок), Посібник з монтажу (12 сторінок), Посібник з монтажу (8 сторінок), Посібник з монтажу (8 сторінок), Посібник з монтажу (17 сторінок), Посібник з монтажу (20 сторінок), Посібник з монтажу (16 сторінок)
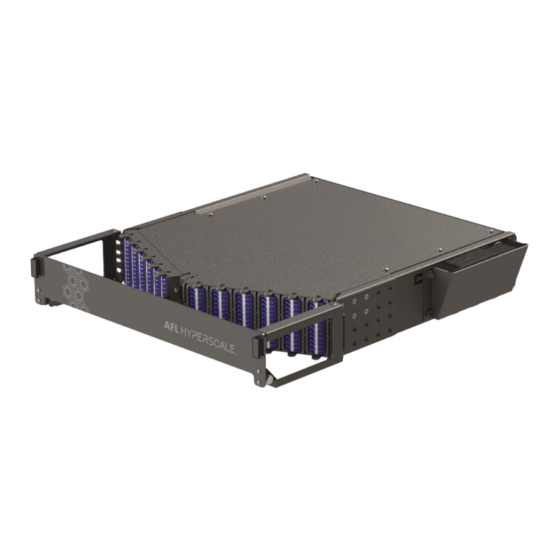
AFL Hyperscale U Series Посібник з монтажу

Cable Installation

4m/13"
approx.
Slide hose clamps over cable and strip cable
11
jacket 4m according to manufacturer's
guidelines.
Separate out and tape up 144f fiber bundle
13
ends as per splicing schedule and feed into
fiber braid tube.
Series
U-Series 6RU Front-Access V-Panel (FVP)
Braid
Tape
Cut 2.5m/8" approx. length of nylon braid, slide
12
braid onto fiber braid tube, then tape braid at
both ends of tubing to secure.
Slide fiber braid tube up to jacket strip point
14
and remove tape, allowing braid to feed onto
fiber.
© AFL Hyperscale. All rights reserved
Tube
9