AVS Bugflector II Інструкція з монтажу Посібник з монтажу - Сторінка 4

Переглянути онлайн або завантажити pdf Інструкція з монтажу Посібник з монтажу для Автомобільні аксесуари AVS Bugflector II. AVS Bugflector II 7 сторінок. Hood shield
Також для AVS Bugflector II: Інструкція з монтажу Посібник з монтажу (7 сторінок), Інструкція з монтажу Посібник з монтажу (7 сторінок), Інструкція з монтажу (2 сторінок), Інструкція з монтажу Посібник з монтажу (7 сторінок), Інструкція з монтажу Посібник з монтажу (6 сторінок), Інструкція з монтажу Посібник з монтажу (10 сторінок), Інструкція з монтажу Посібник з монтажу (6 сторінок), Інструкція з монтажу Посібник з монтажу (6 сторінок), Інструкція з монтажу Посібник з монтажу (10 сторінок), Інструкція з монтажу Посібник з монтажу (6 сторінок), Інструкція з монтажу Посібник з монтажу (9 сторінок), Інструкція з монтажу Посібник з монтажу (6 сторінок), Інструкція з монтажу Посібник з монтажу (6 сторінок), Інструкція з монтажу Посібник з монтажу (10 сторінок), Інструкція з монтажу Посібник з монтажу (10 сторінок), Інструкція з монтажу Посібник з монтажу (10 сторінок), Інструкція з монтажу Посібник з монтажу (6 сторінок), Інструкція з монтажу Посібник з монтажу (10 сторінок), Інструкція з монтажу Посібник з монтажу (6 сторінок), Інструкція з монтажу Посібник з монтажу (10 сторінок), Інструкція з монтажу Посібник з монтажу (6 сторінок), Інструкція з монтажу Посібник з монтажу (6 сторінок), Інструкція з монтажу Посібник з монтажу (6 сторінок)
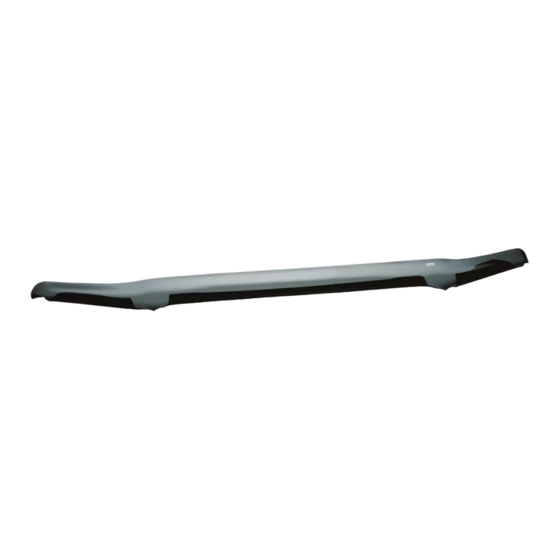
AVS Bugflector II Інструкція з монтажу Посібник з монтажу
Étapes d'installation
Enfoncez les 6 espaceurs de capot dans les 6 orifices
carrés. Au besoin, utilisez la bande adhésive pour les
3
À l'aide d'un tournevis, posez les 6 vis avec les 6
rondelles aux emplacements marqués à l'Étape 3.
orifice carré
capot
espaceur
protection
rondelle
vis
5
NE PAS SERRER À L'EXCÈS
Fermez le capot et posez les gommes aux emplacements
pré-nettoyés sur la surface peinte du capot.
7

Entretien et nettoyage

• Laver exclusivement avec de l'eau savonneuse et sécher avec un chiffon propre.
Félicitations !
Vous avez acheté l'un des nombreux produits de qualité Auto Ventshade™ fabriqués par Lund International, Inc. Nous sommes
extrêmement fiers de nos produits et souhaitons que vous tiriez des années de satisfaction de votre investissement. Nous avons pris
toutes les mesures nécessaires pour assurer que ce produit est d'une qualité supérieure en ce qui concerne l'ajustement, la durabilité,
la finition et la facilité d'installation.
Auto Ventshade
REMARQUE : La méthode d'application peut être légèrement différente de celle représentée par les illustrations.
maintenir en place.
800-241-7219 • Visitez notre site lundinternational.com
© 2016 Lund International, Inc. Tous droits réservés.
, le logo Auto Ventshade
et le logo AVS
TM
TM
Alignez les orifices prétaraudés dans la protection du capot sur les
orifices du capot. Placez la protection du capot sur le capot.
4
Ajuster les butoirs de pare-choc selon les besoins pour assurer que
la protection du capot ne s'appuie pas sur la grille et les phares.
6
Lund International
sont des marques déposées de Lund International, Inc.
TM
Page 2 de 2