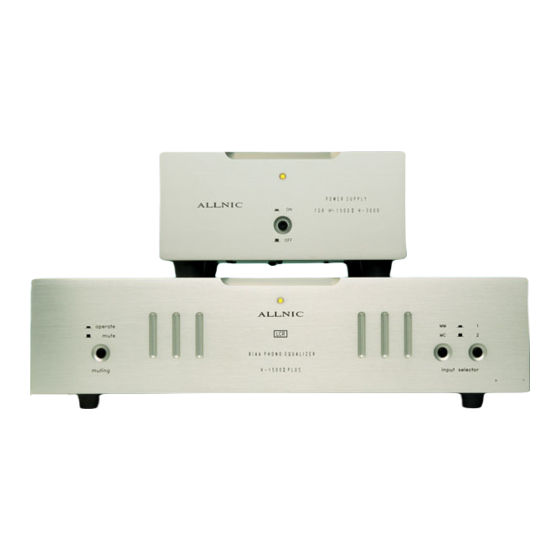
ALLNIC AUDIO H?1500 II PLUS PHONO STAGE Посібник користувача - Сторінка 6
Переглянути онлайн або завантажити pdf Посібник користувача для Підсилювач ALLNIC AUDIO H?1500 II PLUS PHONO STAGE. ALLNIC AUDIO H?1500 II PLUS PHONO STAGE 12 сторінок. Phono stage

water only (NO cleaning fluids!) to clean the
faceplate and chassis of the H‐1500 II PLUS and its
power supply.
B.
Connectors
You may use any good quality contact cleaner
recommended for such applications to clean the
contacts from time to time, as you deem
appropriate.
INITIAL SET‐UP
A.
LOCATION, LOCATION, LOCATION
Like all audio products using tubes, the Allnic Audio
H‐1500 II PLUS and its power supply need to be
placed on a solid stand in a location that provides
good air circulation around both the phono stage
and the power supply.
supply (Please refer to Figures 1 and 2).
•
DO NOT cover the top of the H‐1500 II PLUS
phono stage or the ventilation slots in the
top of the power supply chassis.
•
DO NOT place the units on carpet or foam.
•
DO NOT subject the units to knocks and
shocks as you move them around. This
advice is meant particularly for those who
may want to place the H‐1500 II PLUS or its
power supply on some kind of after‐market
isolation feet or similar devices. Dropping
one side of either of the H‐1500 II PLUS
units, or the whole of either unit, is not a
good thing to do.
•
DO NOT place the units near a strong light
or heat.
•
DO NOT place anything heavy on the units.
•
DO NOT allow rubber or vinyl materials to
rest on either units' chassis for long periods
of time. This could discolour the metal.
•
DO place the units on a shelf or stand that is
stable and not subject to vibration or
sudden shock.
•
DO consider using a high quality power cord
and inter‐connects, for both inputs and
outputs. The H‐1500 II PLUS is a highly
sensitive piece of electronic designed for neutrality
and will output what you put into it.
•
DO try to place the H‐1500 II PLUS and its power
supply away from major sources of RFI and EMI;
though well shielded, the H‐1500 II PLUS units will
function best away from large power transformers
and other sources of such interference.
B. POWER CONNECTIONS
The H‐1500 II PLUS power supply uses a standard three
prong male IEC connection for AC input. You need to use a
power cord with a female three prong IEC connector at
one end.
The H‐1500 II PLUS power supply connects to the phono
stage itself using the supplied umbilical cable. Connect the
units to each other using the provided umbilical cable,
with the appropriate screw‐on connections to the
receptacle labeled "DC Source Input" on the rear of the
phono stage and the connection terminal labeled "DC
Source Output" on the left side of the rear of the power
The H‐1500 II PLUS power supply you have purchased
is set internally for AC 110/120 volt – 60 HZ
operation. There is no way to change this to another
AC setting without return of the unit to the factory
for re‐wiring, at the owner's cost, including transport
both directions.
C.
INPUTS
There are two (2) sets of two (2) pairs of single‐ended
(RCA) inputs. These two pairs are located on the left
hand side of the rear of the phono stage (See Figure 1).
Each channel pair of inputs is aligned vertically, with the
left channel input at the top and the right channel input
on the bottom. The two left hand pair of inputs (facing
the back of the phono stage, have an "MC" label below
the two right channel connectors; these are the two
input pairs for a moving coil cartridge. The right hand
pair of inputs has an "MM" label above the left channel
connector and below the right channel connector; this is
the input pair for a moving magnet cartridge.
In each case, for both MC and MM connections, the left
hand vertically aligned pair of connections (again, facing
the back of the unit) corresponds to input 1 for the
6
