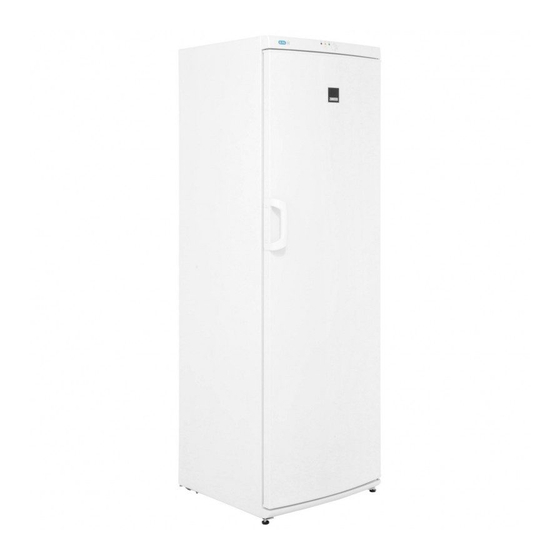
Zanussi ZFU25201WA Посібник користувача - Сторінка 12
Переглянути онлайн або завантажити pdf Посібник користувача для Морозильна камера Zanussi ZFU25201WA. Zanussi ZFU25201WA 16 сторінок.

letter "E" or by the earth symbol
coloured green and yellow.
2. Connect the wire coloured blue to the
terminal either marked with the letter "N" or
coloured black.
3. Connect the wire coloured brown to the
terminal either marked with the "L" or
coloured red.
4. Check that no cut, or stray strands of wire is
present and the cord clamp (E) is secure
over the outer sheath.
Make sure the electricity supply voltage is
the same as that indicated on the appliance
rating plate.
5. Switch on the appliance.
The appliance is supplied with a 13 amp fuse
(B). In the event of having to change the fuse in
the plug supplied, a 13 amp ASTA approved
(BS 1362) fuse must be used.
WARNING!
A cut off plug inserted into a 13 amp
socket is a serious safety (shock)
hazard. Ensure that it is disposed of
safely.
Levelling
Accurate levelling prevents the vibration and
noise of the appliance during operation. To
adjust the height of the appliance loosen or
tighten the two adjustable front feet.
Rear spacers
You can find the two spacers in the bag with
documentation.
1. Release the screw.
2. Engage the spacer below the screw.
3. Turn the spacer to the right position.
4. Tighten again the screws.
12
or
Door reversibility
WARNING!
Before carrying out any operations,
remove the plug from the power
socket.
CAUTION!
To carry out the following
operations, we suggest that this be
made with another person that will
keep a firm hold on the doors of the
appliance during the operations.
Before carrying out any operation,
please be sure that the appliance is
empty. If not, please move all goods
into right temperature for proper
food storage reason.
1. Tilt back the appliance carefully so that the
compressor cannot touch the floor.
2. Remove the plinth (1).
3. Remove the cap (2) and position it on the
opposite side.
4. Unscrew the pins (3) and remove the
washers.
2
1
3
4
www.zanussi.com
