Flomec QS200 Installationshandbuch - Seite 2
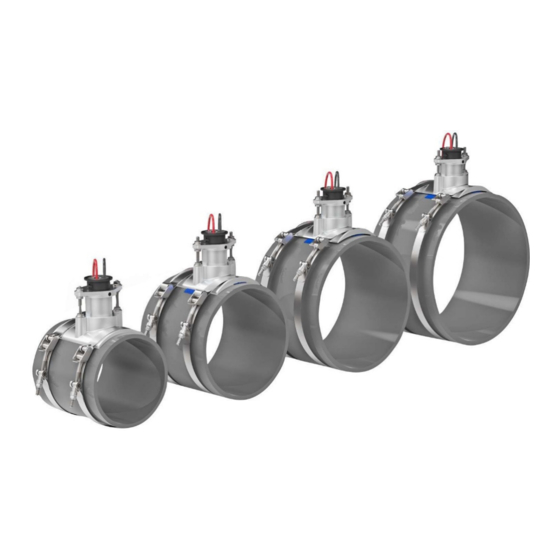
Blättern Sie online oder laden Sie pdf Installationshandbuch für Messgeräte Flomec QS200 herunter. Flomec QS200 8 Seiten. Insertion ultrasonic flowmeter options for large pipe sizes
Auch für Flomec QS200: Handbuch für Produktbesitzer (16 seiten), Handbuch für Produktbesitzer (20 seiten)
GENERAL INSTALLATION PROCEDURE (continued)
FLOW DIRECTION
ARROW
INSERT
TOP VIEW
DOWNSTREAM
5Xs
Figure 1a
NOTE: It is recommended to install Tee at an angle. The water lines are not supposed to have air in them, however,
sometimes very minute pockets of air can get trapped in the QS200. Installing at an angle helps reduce the consequences
of this issue. IMPORTANT: The 1 inch line size FLOMEC
TEE INSTALLATION (FLOMEC TEE ONLY)
1. Remove all burrs from inner and outer diameter
of PVC pipe that will be connected to the FLOMEC
Tee. Also, remove inner diameter burrs from
FLOMEC Tee (See Figure 2).
NOTE: Installation drawings show the QS200 insert
-
in the Tee, but it is recommended to install the Tee
first without the QS200 insert inside. This will keep
excess PVC cement off of the QS200 insert.
2. Clean and apply Primer to pipe ends and tee
sockets (See Figure 3).
Figure 2
Figure 3
INSTALL AT
ANGLE, IF
POSSIBLE
UPSTREAM
10Xs
FLOW DIRECTION
REMOVE BURRS
APPLY PRIMER
Figure 1b
PAGE 8
Tee should be installed at a 45 degree angle.
®
3. Apply PVC cement to pipe ends and Tee sockets
and quickly assemble the parts while the cement
is fluid. Follow the cement manufacturer's
instructions (See Figure 4).
NOTE: Only use PVC cement – Do not try other PVC
-
alternatives.
NOTE: Make sure Tee is tilted at required angle for
-
QS200 (1 inch pipe installations will need a larger
45 degree angle tilt).
4. Hold the cemented parts together for a minimum
of 30 seconds.
Below ground installations should be installed with a valve
box with a minimum of 10 inches thick (deep) layer of
gravel directly underneath the QS200. The gravel shall be
through the entire length and width of the valve box. Valve
box extensions may be needed depending on depth.
Figure 4
-2-
CORRECT
NOT CORRECT
CORRECT
APPLY CEMENT
CORRECT