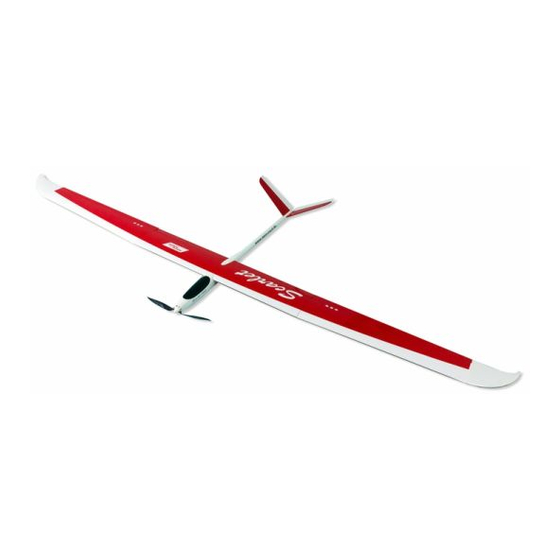
aero-naut Scarlet Bauanleitung - Seite 4
Blättern Sie online oder laden Sie pdf Bauanleitung für Spielzeug aero-naut Scarlet herunter. aero-naut Scarlet 7 Seiten.

Each of the pushrods is assembled from a
pre-formed wire rod, a threaded coupler and
a plastic clevis. Solder the threaded coupler
securely to the rod; epoxy can be used as an
alternative.
When everything is in place and working
properly, carefully cut out the servo well co-
vers and tape them to the wing. Check that
the servo output arms do not foul the inside
of the covers.
Plug the outboard wing panels into the cen-
tre section using the CFRP / GRP joiners.
Note that the carbon joiners incorporate the
correct dihedral.
The incidence pegs can now be glued into
the outboard wing panels to prevent the
wings swivelling. Leave them projecting by
about 10 mm, and sand the projecting ends
to a rounded shape so that they are easy to
insert.
When you are flying the model, the wing panels can be secured with strips of adhesive tape ap-
plied along the joint line on the top surface.
The fuselage
The canopy is detachable, so that you can
quickly and easily swap the flight battery at
the flying site.
Glue the GRP tongue to the inside of the
canopy in such a way that it engages snugly
under the fuselage flange. The front end of
the canopy is located by a steel pin which
has to be glued in place. Alternative meth-
ods of attaching the canopy include adhesive tape or a pair of self-tapping screws.
Glue the snake outer sleeves for the V-tail linkage in the fuselage, with the formers already glued
to the wooden rail. Slide the whole assembly back into the fuselage as far as possible.
At the tail end the wood rail supporting the sleeves must be located on the bottom of the fuselage.
The wing retainer screw engages in a captive nut which should be glued to the underside of the
central hole in the wing saddle using 5-minute epoxy. Ensure that no glue gets into the threaded
section.
Scarlet building instructions
Scarlet
4
