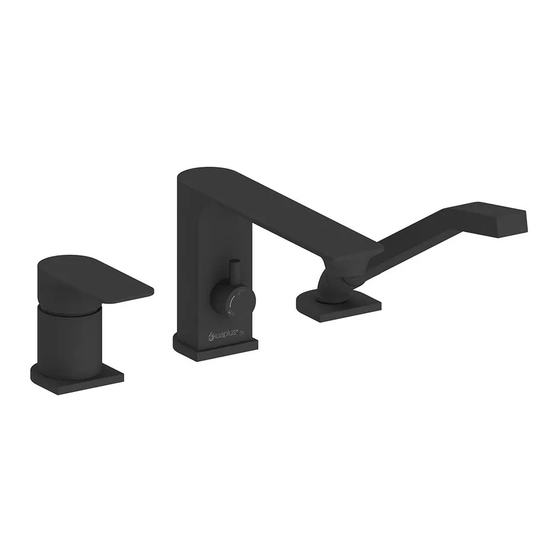
Akuaplus RB6116 ELENA Gebrauchsanweisung - Seite 2
Blättern Sie online oder laden Sie pdf Gebrauchsanweisung für Armaturen für das Badezimmer Akuaplus RB6116 ELENA herunter. Akuaplus RB6116 ELENA 8 Seiten. Bathtub faucet

We recommend that you hire a professional plumber to install and repair this product. Refer to the regulations stipulated in the Canadian Plumbing Code and inquire about your
municipality's requirements before proceeding to the installation. The Canadian Plumbing Code requires the installation of a water-hammer arrester to dampen water hammer in pipes.
ALLOW PROPER OPENING FOR EASY ACCESS TO CONNECTIONS OR OTHER PLUMBING DEVICES FOR MAINTENANCE OR REPAIR.
Nous vous recommandons de faire appel à un plombier compétent pour l'installation et la réparation de ce produit. Veuillez vous informer des différentes règles du Code canadien de
plomberie et des exigences de votre localité avant l'installation. Le Code canadien de plomberie exige l'installation d'un dispositif anti-bélier afin d'amortir les coups de bélier dans la
plomberie. PRÉVOIR UNE OUVERTURE SUFFISANTE POUR FACILITER L'ACCÈS AUX RACCORDEMENTS OU À TOUT AUTRE DISPOSITIF DE PLOMBERIE EN VUE DE L'ENTRETIEN OU DE
LA RÉPARATION.
CARE INSTRUCTIONS
Rinse the faucet with clear water and wipe it with a soft cotton cloth.
DO NOT use cleaning products, paper towels, cleaning products containing acid,
polishes, waxes, alcohol, ammonia, bleach, solvents or any other corrosive chemical
products.
Your new faucet is designed to give you years of trouble-free performance. Regular
and routine cleaning will reduce the need for intensive cleaning or polishing since
they may tarnish the finish of your product and void the warranty. If intensive
cleaning is required, remove any surface dirt, stubborn dirt deposits and dust film
with clear water and a soft cotton cloth, then you could use a mild non-acidic, non-
abrasive liquid detergent or non-abrasive polish. Once the faucet is clean, rinse it
with clean water to remove all traces of detergent or polisher and dry it with a soft
cotton cloth.
INSTALLATION TIPS:
• Cover your workspace to avoid damaging it or losing parts.
• First tighten the union nuts manually. Then use a wrench to hold the fitting and a
second wrench to tighten the nut an additional quarter turn. Too tight fittings will
reduce system integrity.
INSTRUCTIONS D'ENTRETIEN
Rincer le robinet avec de l'eau claire et essuyer le avec un linge doux en coton.
NE PAS utiliser des produits nettoyants, essuie-tout, produits nettoyants contenant
de l'acide, des produits à polir, des cires, de l'alcool, de l'ammoniaque, de l'eau de
Javel, des solvants ou tout autre produit chimique corrosif.
Votre nouveau robinet est conçu pour vous offrir des années de rendement sans
tracas. Un nettoyage régulier et routinier permettra de réduire le recours au
nettoyage ou polissage intensif puisque ceux-ci risquent de ternir le fini de votre
produit et d'en annuler la garantie. Si un nettoyage intensif est requis, retirer toute
saleté superficielle, dépôt de saleté tenace et film de poussière avec de l'eau claire
et un tissu doux en coton, ensuite vous pourriez utiliser un détergent liquide doux
non acide et non abrasif ou un liquide à polir non abrasif. Ue fois le robinet propre,
le rincer à l'eau claire afin de retirer toute trace de détergent ou de polisseur et le
sécher avec un linge doux en coton.
CONSEILS D'INSTALLATION :
• Recouvrez votre espace de travail pour éviter de l'endommager ou de perdre des
pièces.
• Serrez d'abord les écrous des raccords manuellement. Ensuite, utilisez une clé
pour tenir le raccord et une seconde clé pour serrer l'écrou d'un quart de tour
supplémentaire. Les raccords trop serrés réduiront l'intégrité du système.
The model shown in the installation steps may differ from the one in the box. However, the connection type and installation steps remain the same.
Reliability tests under practical conditions are randomly performed on selected machines. Some machines can therefore show traces of previous use.
Des test de fiabilité sont effectués dans des conditions réelles d'utilisation sur des appareils sélectionnéés au hasard. C'est pourquoi l'appareil peut montrer des signes d'utilisation préalable.
2
Le modèle illustré dans les étapes d'installation peut différer du produit en boîte, mais les types de connexions et la marche à suivre sont les mêmes.
DO NOT RETURN THIS PRODUCT TO STORE, CONTACT US. We're there if you ne
NE RETOURNEZ PAS CE PRODUIT AU MAGASIN, CONTACTEZ-NOUS.
1 844 666-0155 • [email protected]
1 844 666-0155
Do not confuse warranty and maintenance
Il ne faut pas confondre garantie et entretien
Remember to handle the handle of the thermostatic valve knob once a month and two
or three times in a row to avoid limescale fixation
Penser à manipuler toutes les poignées au minimum une fois par mois et deux à trois
fois d'affilée pour éviter la fixation du calcaire.
Cartridge maintenance • Entretien cartouche
If a cartridge does not respond well, you will need to clean it in
a solution of half vinegar and half hot water, ideally overnight,
brush and then rinse it under clean water. Apply plumbing grease
Nous sommes là si vous avez besoin d'aide.
to the O-rings, replace the cartridge.
Si une cartouche ne répond pas bien il vous faudra la nettoyer
dans du une solution moitié vinaigre, moitié eau chaude idéale-
ment toute une nuit, brosser et rincez-là ensuite à sous l'eau
claire. Appliquez de la graisse de plomberie sur les joints toriques,
remettre la cartouche en place.
Store/Magasin
Store/Magasin
1 2
3 4
1 844 666-0155
