Barksdale DPD1T Betriebsanleitung - Seite 4
Blättern Sie online oder laden Sie pdf Betriebsanleitung für Schalter Barksdale DPD1T herunter. Barksdale DPD1T 7 Seiten. Single/dual metal diaphragm pressure switches, single/dual metal diaphragm differential pressure switches
Set point adjustment
IMPORTANT
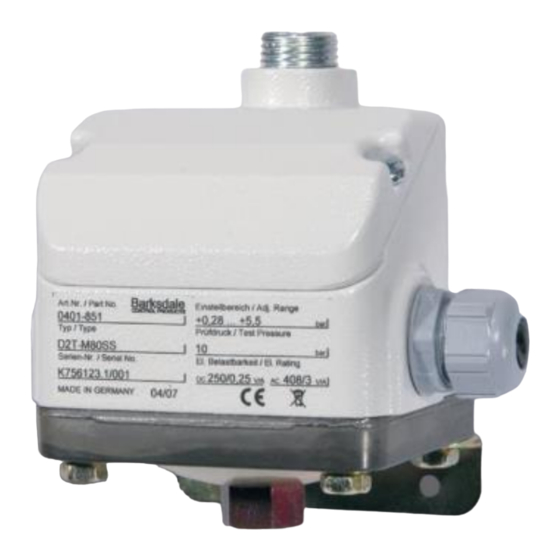
Factory-Provided: pressure (temperature) switch point setting
We confirm for pressure (temperature) switches that have been factory set the setting will
be detailed on the label name plate.
Warranty is not applicable for any changes that may occur due to transportation or
installation. For critical applications we recommend the setting is checked and re-set if
cecessary after installation and wirding of the pressure (temperature) switch.
In pressure switches, a displacement of the pressure sensing element occurs with a change
in pressure. Following the displacement of the pressure sensing element operates a
microswitch.
Upon delivery of the product, the set points are likely to be found in the middle of the
adjustable range. On request, fix set points may be adjusted by our factory. In this event, the
point will be indicated on the type plate or any separate plate, i = increasing, d = decreasing.
The set point is adjusted by turning the adjustment screw.
IMPORTANT
To reach the adjustment screw for pressure switches with housing, remove the cover (see
Fig. 7 or Fig. 8).
Allow pressure switch to reach the desired switch pressure.
Turn adjustment screw clockwise or counterclockwise to actuate the micro switch.
IMPORTANT
In case of overpressure:
–
+
In case of vacuum:
–
+
IMPORTANT
Please consult the wiring diagram for the contact status at atmospheric pressure (see Fig.
5).
IMPORTANT
Particularly important for small pressures!
Set point adjustment must be performed in installation position.
6
Counterclockwise rotation: set point increasing
Clockwise rotation:
set point decreasing
Counterclockwise rotation: set point decreasing
Clockwise rotation:
set point increasing
Precise adjustment of set point to actuate on increasing pressure
Lower system pressure to 0 bar.
Increase pressure slowly and check if micro switch is actuated at desired switch
pressure.
If necessary, readjust by turning the adjustment screw
Repeat preceding steps until microswitch operates at desired switch pressure.
Precise adjustment of set point to actuate on decreasing pressure
Increase pressure up to a point clearly above the desired switch pressure
switch pressure plus max. hysteresis; not above max. operating pressure).
Lower pressure slowly and check if micro switch is actuated at desired switch
pressure.
If necessary, readjust by turning the adjustment screw
Repeat preceding steps until microswitch operates at desired switch pressure.
Following the adjustment of all set points, each set point must be checked and, if
necessary, be readjusted.
IMPORTANT
The adjustment of several set points occurs for each set point as specified above.
Wiring Code for all Types (Contact status at atm. pressure)
C
NC
NO
C
NC
NO
at vacuum NC/NO vice versa
Fig. 5: Wiring Code
(at least,
Power circuit
Power circuit
C = purple
C = brown
NC = blue
NC = orange
NO = red
NO = black
7