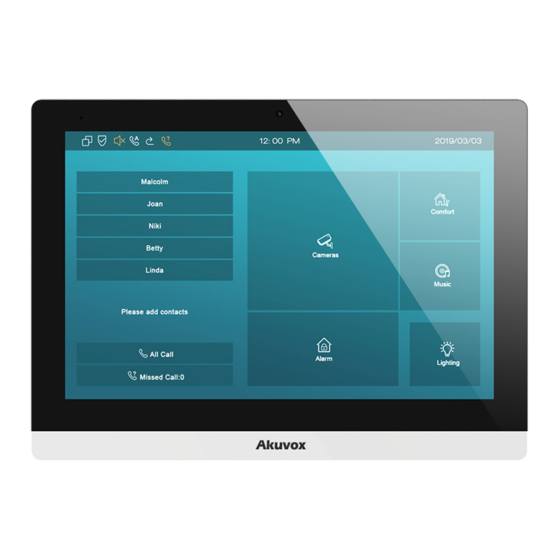
Akuvox C317 Series Kurzanleitung
Blättern Sie online oder laden Sie pdf Kurzanleitung für Intercom System Akuvox C317 Series herunter. Akuvox C317 Series 4 Seiten.
Auch für Akuvox C317 Series: Kurzanleitung (4 seiten)

Screw fixing seat x 4
M3x6 screw x 1
10 Pin cable x 1
C317 x 1
Step 1: Wall Bracket Installa�on
Without embedded box in the wall
1
According to the position
of the cable in the wall,
dig out a square
hole(height*width*depth
=66*50*50mm) that can
accommodate all cables.
Take down the bracket,
3
then using a 5mm hand
drill to make the four
fixation holes on the wall
which marked before.
ST4x20 screw x 4
M3x10.5 screw x 1
11 Pin cable x 1
2
4
C317
M4x30 screw x 4
Allen Wrench x 1
Wall bracket x 1
Align the square hole of
the wall bracket with the
hole digged out before,
then mark the four
fixation holes through
bracket on the wall.
Once the fixation holes
were made, insert screw
fixing seats provided.
