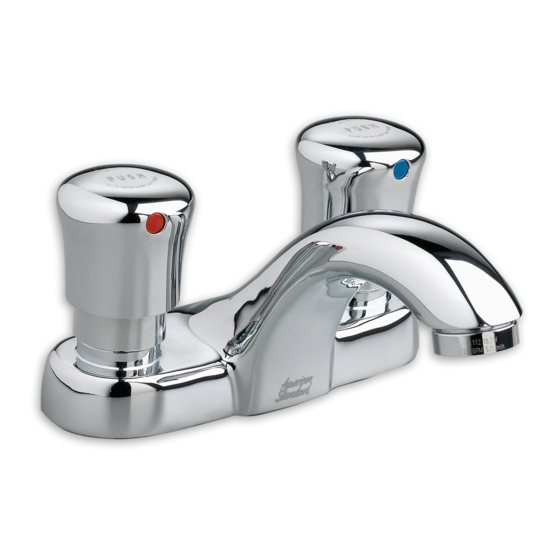
American Standard 1340M.109 Einbauanleitung - Seite 2
Blättern Sie online oder laden Sie pdf Einbauanleitung für Küche & Badarmaturen American Standard 1340M.109 herunter. American Standard 1340M.109 2 Seiten. Metering centerset faucets

3
TO ADJUST CYCLE TIME
Remove HANDLE (1) by removing INDEX BUTTON (2)
and SET SCREW (3) with a 2.5mm hex wrench.
Pull off HANDLE (1).
To increase cycle time, turn the white PLASTIC ADJUSTING
NUT (4) clockwise.
To decrease cycle time, turn the white PLASTIC
ADJUSTING NUT (4) counter-clockwise.
Replace HANDLE (1), SET SCREW (3) and
INDEX BUTTON (2). Test faucet for proper
operation and cycle time.
4
SERVICE
Remove HANDLE (1). Refer to Step 3 for handle removal.
Remove ACTUATOR ASSEMBLY (2).
Remove WASHER (3). Use small Hook to pull out VALVE
ASSEMBLY (4).
NOTE: The tip of the hook must catch on SURFACE (8)
to remove VALVE ASSEMBLY (4). Moderate force is
required. If the hook is too deep it will not remove
VALVE ASSEMBLY (4).
Open VALVE ASSEMBLY (4) by pulling VALVE BODY
TOP (5) off of VALVE BODY BOTTOM (6).
NOTE: There are three internal pieces including a spring.
Take caution not lose these components while opening
the valve body.
Ensure that O-RINGS (7) are free of any debris.
Remove O-RING (9), clean thoroughly, and ensure
the groove beneath is free of debris. Reinstall O-RINGS (9).
Reassemble VALVE ASSEMBLY (4) by pressing
VALVE BODY TOP (5) on to VALVE BODY (6)
until they lock with an audible snap.
Push VALVE ASSEMBLY (4) into faucet body. Place
WASHER (3) with collar facing down on top of
VALVE ASSEMBLY (4). See detail "A". Thread VALVE
ACTUATOR (2) onto faucet. Torque VALVE ACTUATOR (2)
to 12-15 ft. lbs (15-20 Nm).
Replace HANDLE (1).
CARE INSTRUCTIONS:
DO: SIMPLY RINSE THE PRODUCT CLEAN WITH CLEAR WATER. DRY WITH A SOFT COTTON FLANNEL CLOTH.
DO NOT: CLEAN THE PRODUCT WITH SOAPS, ACID, POLISH, ABRASIVES, HARSH CLEANERS, OR A CLOTH WITH A COARSE SURFACE.
TO DECREASE CYCLE TIME
ROTATE COUNTER-CLOCKWISE
REMOVE
8
4
3
2
2.5mm HEX WRENCH
TO INCREASE CYCLE TIME
ROTATE CLOCKWISE
4
DETAIL "A"
Washer
Collar down
3
O-RING
4
Clean
6
1
1
REPLACE
2
7
9
5
M968493 REV.1.6 (8/19)
