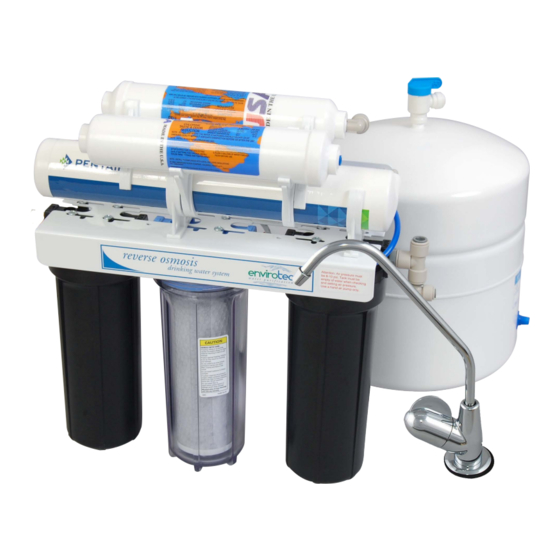
AmeriFlow Water Systems Inc. ET6500GRO Benutzerhandbuch - Seite 6
Blättern Sie online oder laden Sie pdf Benutzerhandbuch für Water Filtration Systems AmeriFlow Water Systems Inc. ET6500GRO herunter. AmeriFlow Water Systems Inc. ET6500GRO 15 Seiten. Reverse osmosis systems

for your type of sink. Place an old towel under
the sink to catch any metal filings and to make
clean up easy. After drilling, clean up metal filings
quickly to avoid staining the porcelain.
2. Install Air-gap Faucet Pre-assemble faucet prior
to installing on the sink. Place the white spacer
onto faucet stem flat side toward tubing and open
end upward. Slide spacer up the stem leaving
enough room for the thickness of the sink. Place
the washer onto the stem and thread on the 7/16"
nut up to the spacer. Attach the plastic 3/8" faucet
adapter fitting to the base of the faucet stem (do
NOT over-tighten).
3. Guide the (2) tubes and the faucet stem
through the hole on the sink until the faucet rests
on top of the sink. Center the faucet over the hole.
Position the faucet so the air-gap hole and the
faucet lever point toward the sink basin (in case
drain tube plugs causing water to spill out of the
air-gap hole). Insert the slotted washer under the
sink between the white spacer and the base of
the sink. Tighten the 7/16" nut securing the white
spacer tight against the sink.
Faucet may require repositioning before final
tightening. Remove short packing tubing from top
of faucet and insert faucet spout by pushing spout
straight into the hole until it seats.
STEP 3 EASY TAP ADAPTER INSTALLATION
Turn off cold water supply to the sink faucet and relieve pressure by opening the cold water
faucet. (Repair any existing plumbing sink leaks before continuing). Follow water supply from
the cold water supply valve, toward the sink faucet, until you reach a coupling nut (may be at
the base of the faucet). Unscrew the coupling nut. Place rubber washer into the plastic easy
tap faucet adapter and screw adapter onto location of coupling nut. Hand-tighten, then tighten
one more complete turn with a wrench. Re-attach the supply line to the adapter with the cou-
pling nut. Leave the cold water off.
CAUTION:
1. When tightening easy tap, make sure the tube to which you are attaching the easy tap is
not twisted. Use two wrenches to hold existing tube while tightening the easy tap adapter.
2. Examine existing cone shaped washer on water supply tube, adjust or replace if damaged
or worn
(not included).
3. If self-piercing valve is used instead of easy tap, attach to hard copper tubing only. Do not
over tighten screws
NOTE: Push-In style fittings are designed for ease of use. Simply push the tubing in until it seats. Give a tug
on it to make sure it is secure. Insert red locking clip between fitting and collar. If you need to remove the
tubing, remove the red locking clip, hold the locking ring collar against the fitting while pulling out the tubing.
No inserts or nuts are used with the Push-In style fittings.
STEP 4 DRAIN SADDLE CLAMP INSTALLATION
Location of Drain Clamp
SINK WITH DISPOSAL
Select location to place drain saddle clamp. Best choice is the vertical pipe as near the sink as
possible making certain that the drain clamp is above the horizontal garbage disposal waste
pipe. When connecting the black drain tube to drain saddle clamp keep the tube run as straight
5
07\15 RO Manual
See A in Figure 1 on the
(see B in Figure)
(see instructions on piercing valve package, not included).
FIGURE 1
right.
F
B
countertop
faucet stem
slot washer
white spacer
washer
lock washer (optional)
9/16" nut
5/8" nut × 3/8" tube
adapter
A
