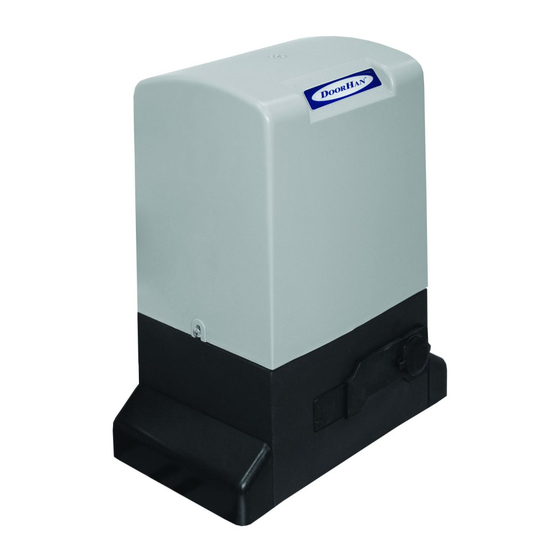
DoorHan SLIDING-2100 Installations- und Betriebshandbuch - Seite 6
Blättern Sie online oder laden Sie pdf Installations- und Betriebshandbuch für Toröffner DoorHan SLIDING-2100 herunter. DoorHan SLIDING-2100 12 Seiten. Drive
Auch für DoorHan SLIDING-2100: Installations- und Betriebshandbuch (16 seiten), Installations- und Betriebshandbuch (12 seiten)

AsseMBLY
9. ASSEMBLY
Preliminary checks
For safe and effective work of a drive observe following conditions:
1.
the design of a gate should provide installation of automatics.
2.
the ground should be strong enough and stable for installation of the assembly basis
of a drive.
3.
on a place of a foundation ditch there should not be pipes or electric cables.
4.
If the engine is not protected from passing transport, establish corresponding means
of protection against casual impact. Be convinced of an opportunity of effective
grounding a drive.
10. INSTALLATION
•
to ensure you work in safe conditions, we advise you to install the operator while keeping the door fully closed.
•
use all the specified anchorage points.
•
the fastening systems must be suitable for the type of support and sufficiently tough.
•
protect your hands and face adequately while drilling the holes.
•
read this chapter to the full before you begin installing.
1.
establish an operator on the basis of and, moving it, establish necessary distance between operator pinion and a gate. Fix an operator.
2.
uncouple an operator.
3.
pass protective pipes for a cable through apertures in the basis.
4.
establish a rack strictly horizontally. (see corresponding section).
5.
establish a demanded backlash between rack and operator pinion (~2 mm). operator pinion should be linked with rack on all width.
6.
Moved the gate and be convinced, that rack does not press on operator pinion and it is not displaced. Fix the others of section rack.
7.
open a gate and establish the limit switch on opening (see corresponding section).
8.
Close a gate and establish the limit switch on closing (see corresponding section).
9.
Couple an operator.
10.
adjust the block of management (see corresponding section).
11.
Make trial start-up and be convinced of normal functioning a drive.
Rack Installation on the metal gate
1.
Manually move a shutter in one of extreme positions.
2.
put the first part rack on operator pinion and establish the plug between rack and a gate so that they coincided with the
top part of a groove.
3.
plan a point of drilling on a gate. drill an aperture 6,5 mm and cut a groove by means of tap M8. twirl a bolt.
4.
Manually move a shutter, check that rack remained on operator pinion , and repeat operation 3.
5.
Installed one more rack element closely to previous. using free rack, to level these two elements. Move a gate manually
and execute all operations the same as and for the first element. repeat until a gate completely will be blocked by rack.
Notes to installation rack:
1.
Be convinced, that during movement of a gate all rack
elements do not leave from operator pinion.
2.
do not weld rack on plugs or to each other.
3.
to provide correct gearing rack with operator pinion,
lower an operator on ~2 mm.
4.
Check up, that a gate reached mechanical emphasises
and that during movement of a gate was not any
friction.
5.
do not grease neither rack, nor operator pinion.
6
I n s t a l l a t I o n a n d o p e r a t I n g M a n u a l o p e r a t o r s l I d I n g - 1 3 0 0 / 2 1 0 0
Gate leaf
Rack
Mounting plate
Rack
Ground level
Gear wheel
