Astrel Instruments AST492 Erste Schritte - Seite 7
Blättern Sie online oder laden Sie pdf Erste Schritte für Digitalkamera Astrel Instruments AST492 herunter. Astrel Instruments AST492 11 Seiten.

Astrel Instruments
AST492
Of course you can install whatever software you prefer on the AST492: the camera and the filter
wheel have ASCOM drivers that can be used to interact from a different astrophotography tool.
Powering down the camera
WARNING: avoid powering down the camera by simply disconnecting power supply: your
camera has a true PC inside running Windows and, as any other PC, you should shut it down in
the correct way. After shut down the camera will disconnect from the remote desktop: wait for 1
minute before unplugging the power cable to allow the shut down to terminate.
Using the WiFi connection
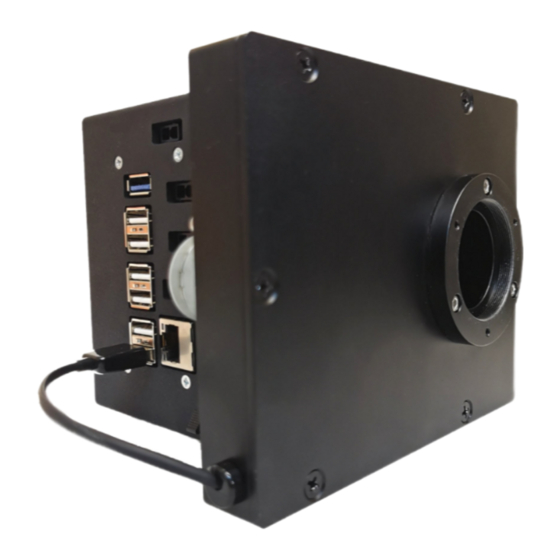
If you connect the included WiFi pen to one of the camera's USB ports
before powering
up, the
camera will act as a WiFi hotspot, creating the 'ast492hotspot' WiFi network: you can connect
using any WiFi enabled device just selecting this network and entering the password
'ast492hotspot'. After the connection is done, you can use the Remote Desktop application as
described above but using the address 192.168.137.1
If you need to connect the camera to your home WiFi router (for example to access the Web),
power down the camera, remove the WiFi pen and restart. Once the boot is completed, connect
to the camera (of course you have to connect to the camera using the Ethernet cable as
described in the previous paragraph), insert the WiFi pen and connect to your home router as
usual.
To get back to the hotspot modality, power down the camera and restart with the WiFi pen
inserted.
As a good rule, try to avoid installing too much non astronomy-related software, keeping in mind
that the stability of the system is of maximum importance when doing astrophotography!
Getting Started
7/11
rev A
