Flybar FB101725 Handbuch - Seite 5
Blättern Sie online oder laden Sie pdf Handbuch für Motorisiertes Spielzeugauto Flybar FB101725 herunter. Flybar FB101725 13 Seiten. Ride on bumper car
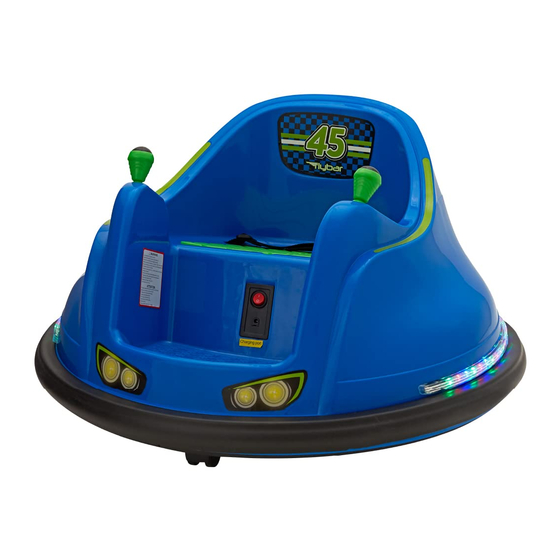
FOAM BUMPER ASSEMBLY
1
Start with foam bumper
supplied in package.
4
Align plastic clasp on foam
bumper with four clasp holes on
bumper car to secure into place.
7
Continue to work your way
around bumper car edges
securing foam bumper into
place.
FLAG ASSEMBLY
1
Start with flag pole and position
above flag pole hole near back
of seat.
FLYBAR_BUMPER_CAR_OWNERS_MANUAL_V2.indd 5
FLYBAR_BUMPER_CAR_OWNERS_MANUAL_V2.indd 5
ASSEMBLY
2
Pull out bumper car from
package and position to
back view.
BOTTOM CLASP
MOLD HOLES
5
SECURED CLASP
Snap plastic clasp into place
in the four clasp mold holes
to secure.
8
As you work your way around,
the top and bottom lip of foam
bumper should cover the
molded bottom edges of
bumper car.
2
Snap flag pole into place by
pressing down to secure.
3
Place foam bumper over
backside of car as positioned
above.
6
Slowly start pulling foam
bumper down around bumper
car edges to position into place.
9
Finish the foam bumper
installation when you get
back to the plastic clasp
you started with.
5/14/21 1:18 PM
5/14/21 1:18 PM