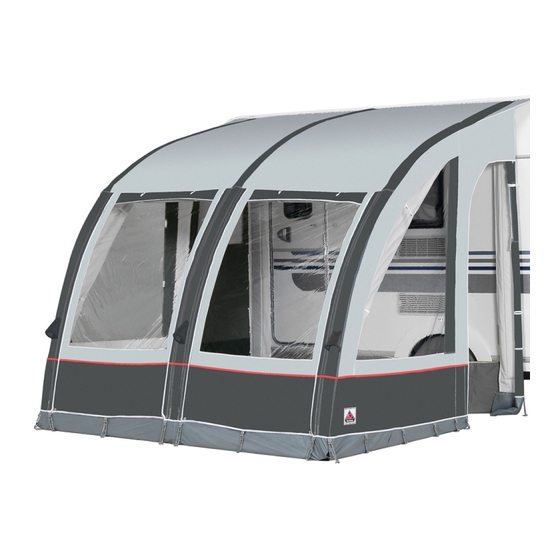
Dorema Magnum Air Force 260 Handbuch Anweisungen - Seite 7
Blättern Sie online oder laden Sie pdf Handbuch Anweisungen für Zubehör Dorema Magnum Air Force 260 herunter. Dorema Magnum Air Force 260 18 Seiten. Air awning

3. ERECTING YOUR AIR AWNING
3.1 Ensure that the ground is free of stones and other sharp objects. You
may wish to lay a plastic sheet on the ground to protect your awning.
Unpack and spread the awning on the ground.
3.2 Thread the beading, on the back of the Air awning, through the rail on
the caravan to the desired position.
3.3 Pitch your Air awning with pegs on each corner (2 front/2 rear). It is
important to start with the two pegging points at the rear (closest to the
caravan) and pull the Air awning towards and under the caravan to create a
seal between the caravan and the Air awning. Take a line vertically from the
edge of your caravan and peg in position and this will regulate the distance
to the tubes at the front of the Air awning. The multi position pegging
points allow flexibility. Make sure the Air awning is square and do not put
too much pressure on the pegging points.
3.4 The Futura 220 Air, Magnum 260 Air and Magnum Air Force 260
are equipped with 3 pre-assembled arch shaped inflatable air tubes and 4
separate inflatable roof bars.
The Futura 330 Air, Magnum 390 Air, Magnum Air Force 390 and
Contura 330 are equipped with 4 pre-assembled arch shaped air tubes
and 6 separate inflatable roof bars.
The Futura 440 Air, Magnum 520 Air, Magnum Air Force 520 and
Contura 440 are equipped with 5 pre-assembled arch shaped air tubes
and 8 separate inflatable roof bars.
The air tubes can be inflated individually with the use of the enclosed
double action pump. The arch shaped air tubes need to be inflated first.
7
