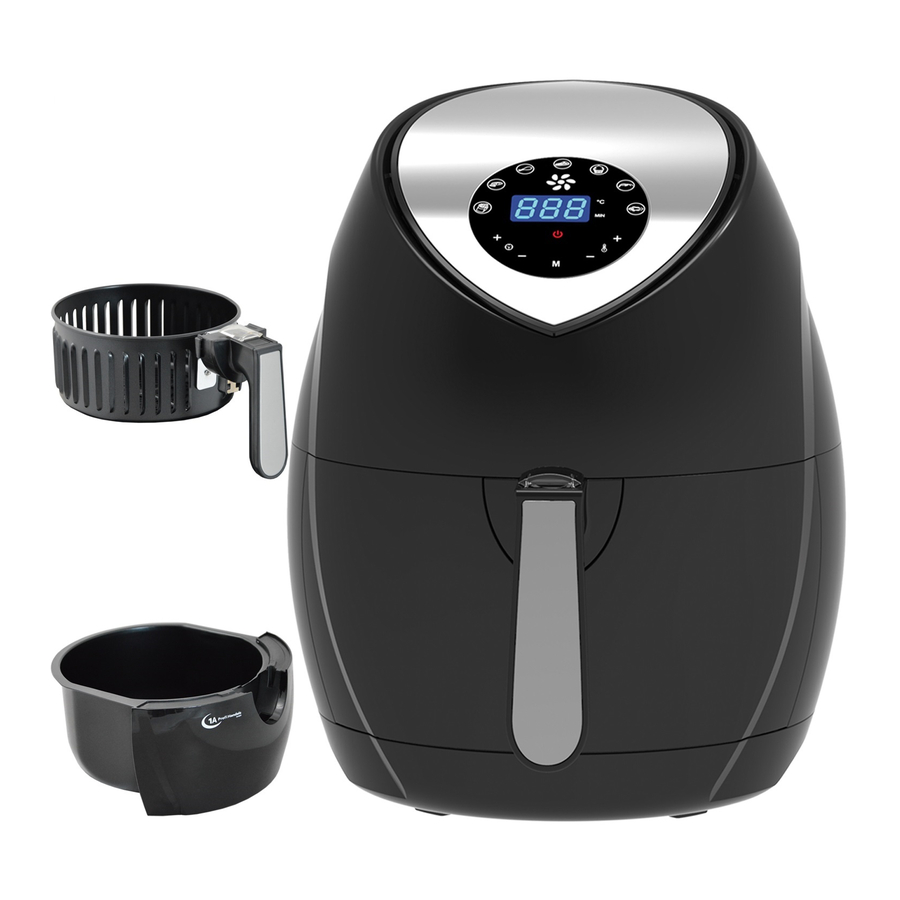
1A Profi Handels Grill ECO AIR-PROFI SOUP DC-1400W Betriebsanleitung - Seite 6
Blättern Sie online oder laden Sie pdf Betriebsanleitung für Fritteuse 1A Profi Handels Grill ECO AIR-PROFI SOUP DC-1400W herunter. 1A Profi Handels Grill ECO AIR-PROFI SOUP DC-1400W 15 Seiten. Hot air multi fryer & bread machine
Auch für 1A Profi Handels Grill ECO AIR-PROFI SOUP DC-1400W: Betriebsanleitung (9 seiten), Betriebsanleitung (20 seiten), Betriebsanleitung (2 seiten)

10 English
8. trouBleSHootiNG & SolutioN
l Presence of smoke when baking food
Reason:
Some raw material might be present on the heating element or other accessories.
Oil could be present on the surface of heating element.
Solution:
Switch off the appliance and clean the heating element.
l food does not cook evenly.
Reason a: There is too much food in the basket
Solution:
Divide food into smaller portions and put into the basket lot by lot. This will cause food to be prepared
more uniformly.
Reason b: Set temperature was too high.
Solution:
Set the correct temperature according to the .
Reason c: Cooking time is not sufficient.
Solution:
Set the correct time according to the guide provided.
l food does not cook uniformly?
Reason:
Certain foods need to be turned (flipped) halfway through cooking.
Solution:
When food overlaps, turn it according as indicated in the guide provided.
l food is not crispy.
Reason:
Food might not be ideal for this cooker
Solution:
Smear a little bit of oil to the food to make it more crispy. Food which is ideal for deep fryer cooking
can also be prepared in this appliance.
l chips cannot cook uniformly in the air fryer
Reason a: Right potatoes were not used.
Solution:
Use fresh potatoes and make sure they are firm when frying.
Reason b: Chips were not well prepared before cooking them.
Solution:
Place chips into hot water for 5 minutes then remove them and dry them on a paper towel to suck out
all excess water.
l chips are not crispy.
Reason:
The chips had sucked in water before cooking.
Solution:
1) Make sure chips are totally dry before adding a little oil.
2) Cut chips thinner and add more oil to make them crispy.
l Bottom of bread is very thick
Reason:
Bread stayed in the bread pan for too long after baking.
Solution:
Remove bread from the pan immediately after baking then pour hot water inside the bread pan. Leave
it soak for 10 minutes. Remove the kneading paddle and clean it.
l finding it hard to remove bread from the pan
Reason:
Bread is stuck to kneading paddle
Solution:
Remove bread from the pan immediately after baking then pour hot water inside the bread pan. Leave
it soak for 10 minutes. Remove the kneading paddle and clean it.
l Bread is badly cooked
Reason a: Program selection was not appropriate
Solution:
Make sure you select the appropriate settings.
Reason b: Door was opened several times while the appliance was in operation. Causes bread to be dry.
Solution:
Do not unnecessarily open the door after food has been placed inside the oven.
l appliance displays „e3" when you press „start / pause"
Reason:
Set tempreture is to too high to start bread making process.
Solution:
Switch off the appliance and unplug power cable. Remove the bread pan from appliance. Open the
cover and let the appliance cool down before restarting it.
l Motor produces noise
Reason:
Either the bread pan may not have been placed well or the dough might be too heavy. This causes
the drive shift not to work.
Solution:
Set the bread pan properly and make the dough according to instructions so as to obtain best results.
l Dough expands and touches top the cover
Reason:
Either too much yeast was added to the dough or the set temperature is too high.
Solution:
Add less yeast and make sure the set temperature is right.
l Bread dough does not expand or rise at all.
Reason:
Either yeast has expired or very little yeast was used or water was too hot or yeast was mixed
with salt.
Solution:
Make sure yeast is not expired and always use the right quantity.
l Dough rises (expands) too much and overflows bread pan.
Reason:
Either too much water was added or dough was too soft or too much yeast was added.
Solution:
Reduce amount of water, make dough a bit harder and use less yeast.
l Middle of bread is sunken
Reason a: Either dough was made from non-strong flour or the yeast did not perform well.
Solution:
Switch to better bread flour
Reason b: Temperature too high.
Solution:
Set the correct temperature when baking bread.
Reason c: Too much water was added resulting in dough being wet and too soft.
Solution:
Make sure you measure the right quantity of water according to the recipe.
l Bread is too heavy and dense
Reason a: Too much flour was used and insufficient water was added.
Solution:
Reduce on the amount of flour and add more water.
Reason b: Too much whole wheat flour.
Solution:
Reduce on the amount of flour and add more yeast
l lots of holes when you cut bread
Reason a: Too much water was added
Solution:
Reduce the amount of water.
Reason b: Water was too hot
Solution:
Check the temperature of the water before adding it to other ingredients
l Dry powder on the surface of bread
Reason:
Ingredients were not mixed poperly e.g butter and banana.
Solution:
Thoroughly mix ingredients.
l Bread surface too thick
Reason:
Too much sugar was added hence the bread surface became dark and too thick.
Solution:
If add too much sugar stop the programme 5-10 minutes early. Keep the door closed and only remo-
ve the bread after after 20 minutes.
English 11
