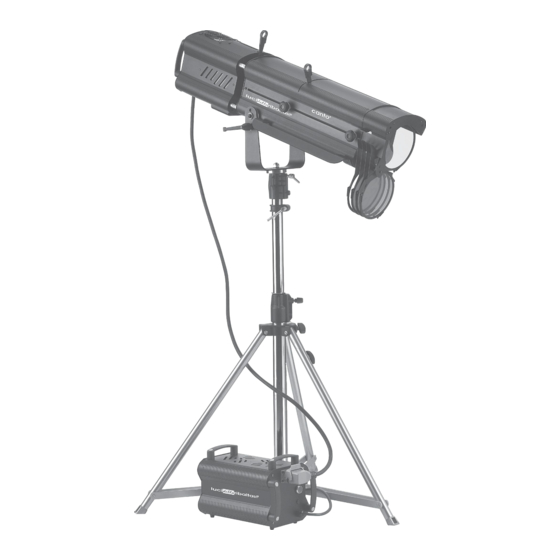
CANTO 1200 Gebrauchsanweisung - Seite 6
Blättern Sie online oder laden Sie pdf Gebrauchsanweisung für Spotlight CANTO 1200 herunter. CANTO 1200 11 Seiten. Follow spotlight metal halide and tungsten-halogen

4. MOUNTING THE IRIS
The iris supplied with the followspot uses 20 leaves to size the beam from a maximum aperture of 2.68"
(68mm) to a minimum of 0.20" (5mm). A blackout iris is available on special order. The iris is preassembled
in Strong Entertainment Lighting units, and replacements are installed as follows:
a. Using a phillips screwdriver, remove the two cross-head screws from the sides of the iris bracket
located in the gap between the lamphouse and optical system. Lift the old iris out of the bracket.
b. Slide the new iris down into the bracket, flat surface toward the lamphouse.
c. Replace the screws.
Important Notice: while the lamp is on. . .
Do not leave the iris closed for longer than:
• 10 minutes on Canto 575, Canto 700, Canto 1000 and Canto 1200
• 2 minutes on Canto 2000
Use the douser (front lever) to cut off the light should you require to have the lamp "on" with no beam
projecting to the stage.
FAILURE TO COMPLY WITH ABOVE NOTICE MAY CAUSE THE IRIS AND THE FOLLOWSPOT
TO SUFFER MAJOR HEAT DAMAGES AND WILL INVALIDATE THE PRODUCT WARRANTY
5. SHUTTER BLADES
Shutter blades are not supplied with the unit but are available as separate accessory. They are sold as
single items and relevant part number is 80852039.
6. ADJUSTING THE YOKE
This followspot is provided with a yoke balancing adjustment. The balancing point is factory-set for
standard usage of the product; however, should you need to adjust the balancing, proceed as follows:
a. The followspot must be tripod mounted.
b. Using a phillips screwdriver, loosen the (2) 5mm screws on each side of the yoke.
c. Gently slide the followspot backwards or forwards to the required position.
d. Make sure the yoke is correctly aligned horizontally.
e. Tighten the (4) 5mm screws.
7. WIRING
Before being connected to the AC source, this unit needs to be wired with a suitable plug. Make sure the
plug you are using meets the lamp's current load. Ensure the plug conforms to the relevant UL electrical
standards and local codes.
To insure correct wiring, refer a licensed electrician to the instructions given on the label attached to the
loose end of the power cable.
4
