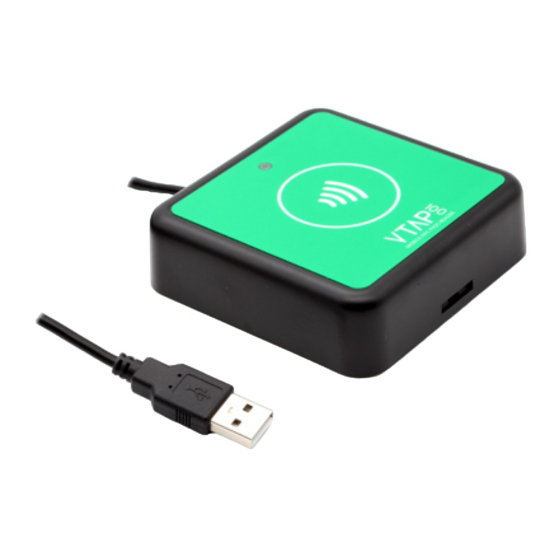
Dot Origin VTAP100-USB Installationshandbuch - Seite 12
Blättern Sie online oder laden Sie pdf Installationshandbuch für Netzwerk-Hardware Dot Origin VTAP100-USB herunter. Dot Origin VTAP100-USB 14 Seiten.

5 Mount a VTAP100 wallbox
The wallbox has mounting holes in case you want to fix the device in place. The wallbox separates into
two pieces, which clip together around the PCB. The following diagram shows the location of
mounting holes in the wallbox base plate:
Figure 5-1 Mounting holes in wallbox base plate
We recommend that you complete and test your configuration before the VTAP100-USB is mounted.
Detailed help is in the VTAP100 Configuration Guide.
When configuration is complete, you might want to set a
Hardware lock to prevent firmware or
configuration change
before the VTAP100-USB is mounted.
5.1 Hardware lock to prevent firmware or configuration change
You can lock the VTAP100 so that its firmware and configuration cannot be changed. You can either
do this in software or hardware.
A software lock leaves some files visible. A hardware lock means that the VTAP100 will no longer be
detected as a composite USB device.
Users of a VTAP100-USB will need to open the wallbox to locate the jumper labelled LOCK (close to
the MicroUSB connector) on the PCB.
Connect a jumper across LOCK on the PCB to lock the device, preventing firmware or configuration
changes.
VTAP100-USB INSTALLATION GUIDE
PAGE 8
