Dot Origin VTAP50 Installationshandbuch - Seite 14
Blättern Sie online oder laden Sie pdf Installationshandbuch für Netzwerk-Hardware Dot Origin VTAP50 herunter. Dot Origin VTAP50 16 Seiten. Oem module

4.4 Antennas
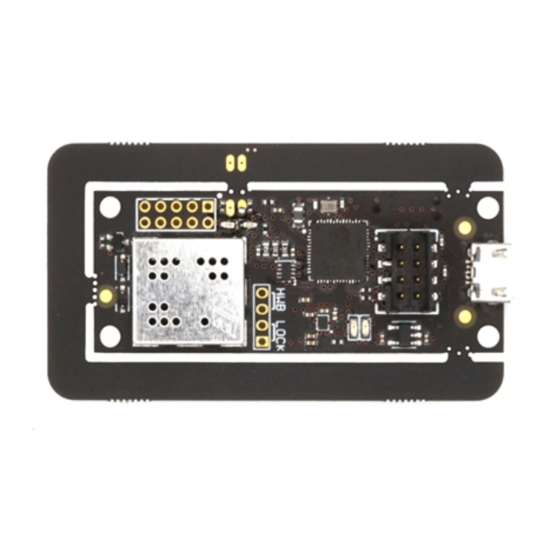
The VTAP50 OEM module has been tested with its integrated loop antenna, printed on the
PCB. There are no alternative antennas approved for use. The VTAP50 OEM module is
designed so that you can carefully break the integrated antenna from the board and connect
an external antenna. If an external antenna is attached, the new arrangement would require a
new FCC approval.
4.5 Label and compliance information
When FCC approval for the VTAP50 OEM module has been obtained, the integrator must
attach a label to the new equipment, hosting the VTAP50 OEM module, with specific text
required by the FCC. Please contact us for this information when needed.
4.6 Information on test modes
The following test modes are recommended to achieve states of maximum emission levels or
susceptibility in the VTAP50 OEM module:
1. VTAP50 OEM module powered on. Communicating with PC over USB. Continuously
reading tag.
2. VTAP50 OEM module powered on and tag present, but not communicating with external
device.
4.7 Additional testing requirements
The VTAP50 OEM module will only be FCC authorised for use in compliance with the specific
FCC transmitter rules listed on the grant. The integrator is responsible for compliance to any
other FCC rules that apply to the host, which are not covered by the modular transmitter
grant of certification.
The final host product, with the VTAP50 OEM module installed, will still require Part 15
Subpart B compliance testing, to evaluate transmission effects when the VTAP50
OEM module and host equipment operate at the same time. Be aware that additional
testing can be required on the final integrated system. We recommend integrators refer to
further advice from the FCC OET Knowledge Base, such as 996369 D04 Module
Integration Guide v02.
VTAP50 OEM MODULE INSTALLATION GUIDE
PAGE 9
