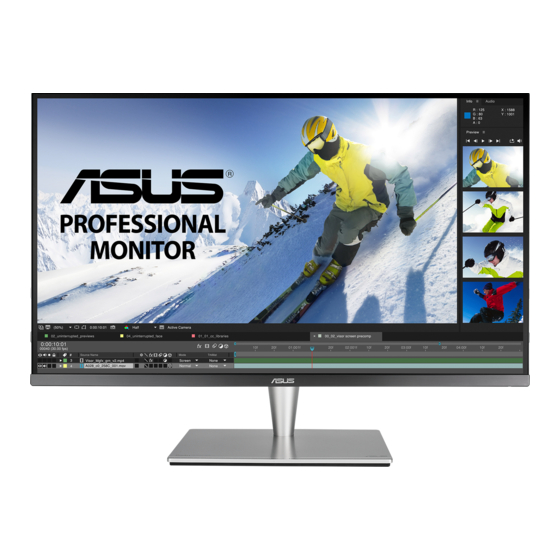
Asus PA32UC Benutzerhandbuch - Seite 32
Blättern Sie online oder laden Sie pdf Benutzerhandbuch für Monitor Asus PA32UC herunter. Asus PA32UC 34 Seiten. Pa32u series
Auch für Asus PA32UC: Benutzerhandbuch (34 seiten)

Compliance.and.Standards
*Specifications.are.subject.to.change.without.notice.
**measuring.a.screen.brightness.of.200.nits.without.audio/USB/Card.reader.connection.
***Requires.Mac.OS.10.10.x,.10.11.x,.10.12.x.
3.3
Troubleshooting (FAQ)
Power LED is not ON
The power LED lights amber and there is
no screen image
Screen image is too light or dark
Screen image bounces or a wave pattern is
present in the image
Screen image has color defects (white does
not look white)
No sound or sound is low
3-12
UL/cUL, CB, CE, ErP, FCC, ICES-3, CCC, CEL, BSMI, CU,
RCM, VCCI, UkrSEPRO, J-MOSS, RoHS, WEEE, PSE,
KCC, eStandby, KC, ISO 9241-307, TUV Flicker Free,
TUV Low Blue Light, Windows 7, 8.1 and 10 WHQL, Mac
Compliance***
Problem
Possible.Solution
• Press the
button to check if the monitor
is in the ON mode.
• Check if the power cord is properly
connected to the monitor and the power
outlet.
• Check if the power switch is ON.
• Check if the monitor and the computer are
in the ON mode.
• Make sure the signal cable is properly
connected the monitor and the computer.
• Inspect the signal cable and make sure
none of the pins are bent.
• Connect the computer with another
available monitor to check if the computer
is properly working.
• Adjust the Contrast and Brightness
settings via OSD.
• Make sure the signal cable is properly
connected to the monitor and the
computer.
• Move electrical devices that may cause
electrical interference.
• Inspect the signal cable and make sure
that none of the pins are bent.
• Perform All Reset via OSD.
• Adjust the R/G/B color settings or select
the Color Temperature via OSD.
• Ensure that the HDMI/DisplayPort cable is
properly connected to the monitor and the
computer.
• Adjust the volume settings of both your
monitor and HDMI/DisplayPort device.
• Ensure that the computer sound card
driver is properly installed and activated.
Chapter 3: OSD (On-Screen Display) menu
