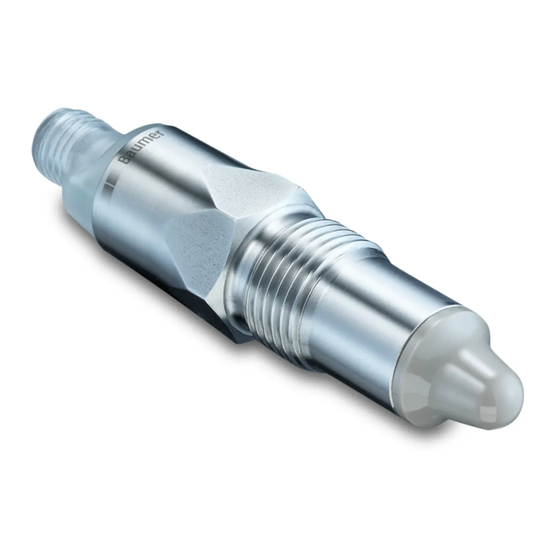
Baumer CleverLevel PL20H Betriebsanleitung - Seite 9
Blättern Sie online oder laden Sie pdf Betriebsanleitung für Zubehör Baumer CleverLevel PL20H herunter. Baumer CleverLevel PL20H 44 Seiten.
Output type
Programmable
output
IO-Link + Analog
4 ... 20 mA
Digital (push-pull)
8.
Configuration
The sensor can be configured either via qTeach,
remote teach, FlexProgrammer 9701 or IO-
Link master. The following trigger modes are
possible:
Adaptive trigger
Window trigger
Analog output 4 ... 20 mA
For a detailed description of the different output
modes and different parameter settings, refer to
"14. Configuration overview and factory settings"
on page 13.
Configuration via qTeach
Via qTeach, the different trigger types can be set
for SW1 and SW2. The switch logic is normally
open (NO) for both SW1 and SW2.
For a graphical overview of the configuration
procedure, refer to "14.5 qTeach configuration
procedure" on page 15.
Note: Configuration is only possible during the first
5 minutes after connecting the sensor to the power
supply. After that, qTeach is locked.
www.baumer.com
Equivalent circuit
+Vs
4 ... 20 mA
lout
SW1
GND (0 V)
Operating Instructions
Level measurement
CleverLevel
Adaptive trigger – hygienic/industrial
Electrical
Function
connection
+ Vs
4
3
SW1 (IO-Link)
Iout
1
2
GND (0 V)
+ Vs
3
4
SW1 (IO-Link)
Iout
1
2
GND (0 V)
Frame ground
Step 1: Selecting the switch
9 Sensor is powered up.
Hold a screwdriver or other metal object on the
f
qTeach detector.
The LED rapidly blinks magenta. The LED
alternates between yellow, cyan and orange in
3 second intervals.
When the LED has the color assigned to the
f
desired switch, remove the screwdriver from the
qTeach area:
Yellow: SW1
Cyan: SW2
Orange: Factory setting
The LED slowly blinks in the selected color.
®
PL20H/S
Pin assignment
1
4
2
3
1
4
2
3
Plug thread
9 / 44