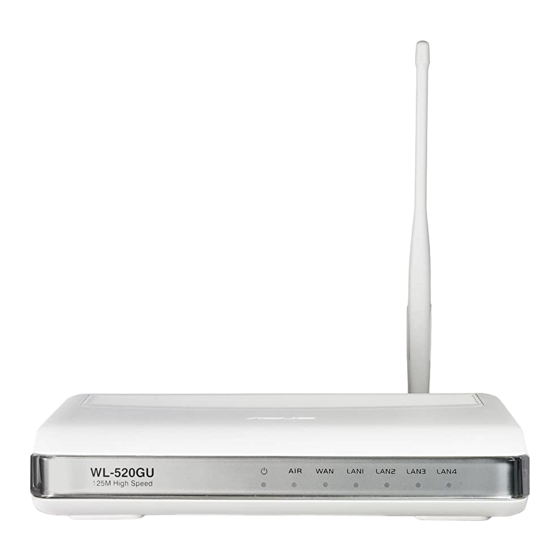
Asus WL-520G Benutzerhandbuch - Seite 13
Blättern Sie online oder laden Sie pdf Benutzerhandbuch für Drahtloser Router Asus WL-520G herunter. Asus WL-520G 32 Seiten. Broad range wireless family router
Auch für Asus WL-520G: Benutzerhandbuch (31 seiten), Schnellstart-Handbuch (8 seiten)

2. Installation Procedure
Follow these steps to install the ASUS Wireless Router.
1. Determine the best location for the ASUS Wireless Router. Keep in mind
the following considerations:
•
The length of the Ethernet cable that connects the ASUS Wireless
Router to the network must not exceed 100 meters.
•
Try to place the ASUS Wireless Router on a flat, sturdy surface as
far from the ground as possible, such as on top of a desk or book-
case, keeping clear of obstructions and away from direct sunlight.
•
Try to centrally locate the ASUS Wireless Router so that it will pro-
vide coverage to all of the wireless mobile devices in the area. Orien-
tating the antenna vertically should provide the best reception.
•
Use only the power supply that came with this unit. Other power
supplies may fit but the voltage and power may not be compatible.
2. Wall mounting or vertical standing is also possible.
Important: It is the responsibility of the installer and users of the
ASUS Wireless Router to guarantee that the antenna is operated at
least 20 centimeters from any person. This is necessary to insure
that the product is operated in accordance with the RF Guidelines
for Human Exposure which have been adopted by the Federal Com-
munications Commission.
Wall Mounting Option
Out of the box, the ASUS Wireless Router is designed to sit on a
raised flat surface like a file cabinet or book shelf. The unit may
also be converted for mounting to a wall or ceiling.
Follow these steps to mount the ASUS Wireless Router to a wall:
1. Look on the underside for the mounting hooks.
2. Mark two upper holes in a flat surface using the provided hole template.
3. Tighten two screws until only 1/4" is showing.
4. Latch the upper two hooks of the ASUS Wireless Router onto the screws.
Note: Readjust the screws if you cannot latch the ASUS Wireless
Router onto the screws or if it is too loose.
Chapter 2 - Installation
ASUS Wireless Router
13
