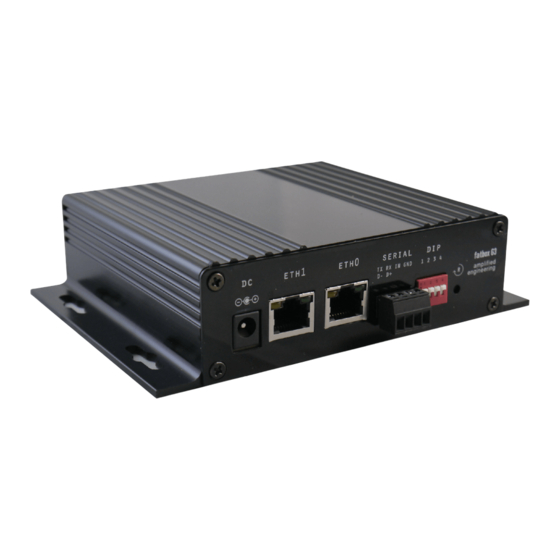
AMPLIFIED ENGINEERING fatbox G3 Handbuch - Seite 17
Blättern Sie online oder laden Sie pdf Handbuch für Netzwerk-Router AMPLIFIED ENGINEERING fatbox G3 herunter. AMPLIFIED ENGINEERING fatbox G3 20 Seiten.

WEB
fatbox G3
MANAGEMENT
MENU OPTIONS
3.8
MANAGEMENT
Quick Start
LAN Ethernet
WAN Cellular
Port Forwarding
Dynamic DNS
SECURITY
IPSEC VPN
Serial Port
Management
Note that from the internet,
System Status
the FATBOX can only be
Logout
accessed via HTTPS (secure)
to ensure all data between
user and FATBOX web
configuration page is
encrypted.
Note:
We give our clients the
choice to install their own
signed certificate (e.g. Veri-
sign or Digicert) via SSH to
FATBOX console. Since there
is no packaged signed SSL
certificate in each FATBOX,
a complaint of error might
be issued from the browser.
Note that this does not affect
the secure encryption of
data to configure the FATBOX
via HTTPS.
System Management
Username
fatbox
Password
********
Enable Secure Shell (SSH)
1 = enable 0 = disable
1
Enable Log
1 = enable 0 = disable
1
UPDATE
Configuration Parameters Management
Please insert usb drive labelled 'FATBOX' .
Configuration files will be in folder \config.
UPLOAD FROM FATBOX
DOWNLOAD TO FATBOX
User Application Program Management
Please insert usb drive labelled 'FATBOX' .
File user.lua must be in \user folder.
DOWNLOAD TO FATBOX
EXECUTE PROGRAM
System Recovery Management
FACTORY SETTINGS
REBOOT SYSTEM
fatbox G3
A user defined name to login to the FATBOX
(web and SSH)
Please use a 'strong' password (upper, lower
case and symbols)
Disabled by default. If enabled, will provide
root access using the Password above.
1 = Enable, 0 = Disable (default)
If enabled, you can download/view the log
page from the 'System Status' page.
1 = Enable, 0 = Disable (default)
To allow 'cloning' of parameter settings to
multiple FATBOX in production
environment, we utilize USB flash drives.
This ensure only with physical access to
the device and the settings (with sensitive
data) be uploaded from a
production FATBOX.
1. Format a USB thumb-drive (e.g. FAT32)
and label it 'FATBOX'
2. After FATBOX is powered up and stable
condition (e.g. signal strength LEDs are
functioning), insert the thumb-drive into
USB port (at antenna end of box)
3. Click 'Upload from FATBOX', wait 5 sec,
remove thumb-drive
4. Insert thumb-drive into new FATBOX
(in stable operating condition) and click
'Download to FATBOX', wait 5 sec and
remove thumb-drive
5. Check in new FATBOX that parameters
from other FATBOX has been copied over
