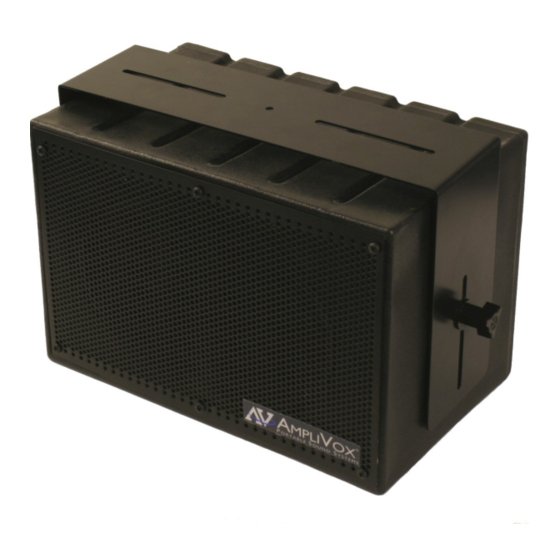
AmpliVox SS1230 Benutzerhandbuch - Seite 3
Blättern Sie online oder laden Sie pdf Benutzerhandbuch für Redner AmpliVox SS1230 herunter. AmpliVox SS1230 7 Seiten. Mity box passive / amplified / wireless speaker

TROUBLESHOOTING GUIDE
UNIT WILL NOT TURN ON
Is unit plugged in?
`
SOUND IS DISTORTED
Turn down main volume
Turn down input source since the output of some devices may be too high
SOUND IS MUFFLED
Bass too high
FEEDBACK: ALOUD SQUEALING, SHRILL OR HOWLING SOUND THAT IS SELF GENERATED
Feedback occurs when a microphone is too close to the speaker or the microphone volume is too high, or the microphone is
pointed towards the speaker. It is also caused by sound reflecting off hard surfaces.
Reduce or eliminate Feedback by
- Pointing the microphone in a different direction
- Keeping the microphone BEHIND the speakers
- Turn down the volume levels
POWER IS ON, BUT NO SOUND
Check volume levels
If using wireless, be sure receiver(s) and/or transmitter battery is installed and/or is on
WIRELESS MICROPHONE SIGNAL IS WEAK
If microphone has batteries, check batteries
Check cables/connectors
WIRELESS MIC DOES NOT WORK
Check transmitter battery is alkaline and ensure transmitter is on.
Does green "signal" LED light when transmitter is turned on?
Are the transmitter and receiver on the same channel? (1-16)
WIRELESS MIC CUTS IN AND OUT
Is unit visible (line of sight) from user? If not, move unit into view when using wireless microphone.
Does the green "signal" LED go out when signal drops out? Check battery in transmitter.
NEED HELP? Call 800-267-5486
SPEAKER BRACKET
Mounting Speaker Bracket
Slots have been provided on mounting bracket that will
accommodate 10-24 machine screws or wood screws
(not provided).
Make sure that mounting surface will hold weight of
speaker.
Mounting Speaker to Bracket
Locate the two speaker mounting knobs and washers.
Insert one washer over stud of knob and screw part way
into the insert on the side of speaker. Repeat for other
side.
Take speaker and align these two knobs with the slots in
the bracket.
Position washer so that it is in-between the bracket and
bottom of knob.
Slide into slot, position, and tighten both knobs.
3
