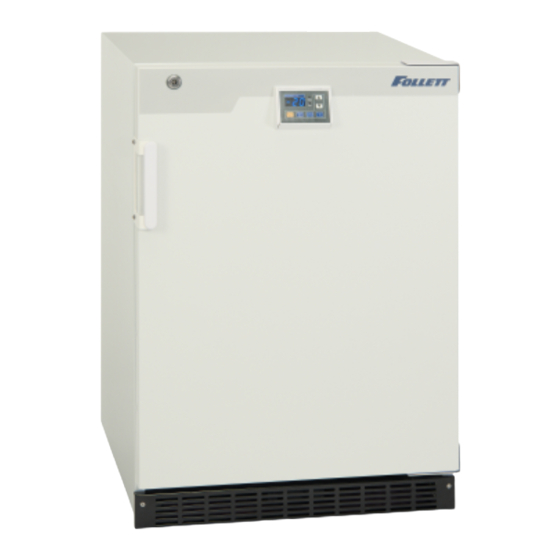
Follett Edge Series Installationshandbuch - Seite 5
Blättern Sie online oder laden Sie pdf Installationshandbuch für Gefrierschrank Follett Edge Series herunter. Follett Edge Series 17 Seiten. Laboratory freezer
Auch für Follett Edge Series: Installationshandbuch (17 seiten)

Installation
1. Remove the packaging materials and tape. Open the doors and ventilate the unit. If the outside panels
are dirty, clean them with a diluted neutral dishwashing detergent. (Undiluted detergent can damage
the plastic components. For the dilution, refer to the instruction of the detergent.) After cleaning with the
diluted detergent, always wipe it off with a wet cloth, then wipe the panels with a dry cloth.
2. Door handle installation: Remove the two plugs from the door where you will attach the door handle.
Apply door handle, plastic washer and screw and fasten the screw. For floor-level installation, the handle
should be mounted at the higher location. For stacking above another compatible unit, the handle should
be mounted at the lower location.
3. Access Port: If a temperature sensor is to be placed inside the cabinet, the cable can be led through the
access port on the right side of the cabinet. After using the port, a rubber cap and insulation should be
reinstalled to seal the access port. Make a cut on the rubber cap and pass the sensor wire through it.
Failure to do this can affect the temperature uniformity inside the cabinet and lead to condensation on
the outside of the access port.
4. Ensure unit is level, adjust legs as needed to level refrigerator in both directions.
5. Connect the unit to dedicated power supply. Do not put any product in the unit at this time.
6. Clean the refrigerator before putting into service.
Cleaning
Clean the unit once a month. Removal of dust and other particulates from air intake areas and the condenser is
important for proper operation. Environments with large amounts of dust may require more frequent cleaning.
WARNING
Always disconnect the power supply to the unit prior to any repair or maintenance of the unit in order to prevent
electric shock or injury.
§ Never pour water onto or into the unit. Doing so can damage the electrical insulation and may cause electric
shock or short circuit.
§ The compressor and other mechanical part are completely sealed. This unit requires absolutely no
lubrication.
Note: Do not remove top wire shelf. The purpose of this component is to keep the top area free of material and
assure the air flows through the entire unit uniformly.
1. Remove the wires shelves. For removal of side wire barriers, you must begin from top to bottom, in
order to have clearance while removing the components. Remove the side wire barrier by lifting up and
compressing top towards inside of component. Finally, slide down to remove.
2. Use a dry cloth to wipe off small amounts of dirt on the outside and inside of the unit and all accessories.
If the outside panels are dirty, clean them with a diluted neutral dishwashing detergent. (Undiluted
detergent can damage the plastic components. For the dilution, refer to the instruction of the detergent.)
After the cleaning with the diluted detergent, always wipe it off with a wet cloth. Then wipe off the cabinet
or accessories with a dry cloth.
3. Open the refrigerator door. Using a Philips screwdriver, remove the two screws securing the base grille.
Set aside the base grille.
4. Use a vacuum cleaner with brush attachment to clean condenser regularly (as often as every other
month).
5. Reinstall the base grille.
REFNAT5-SD, REFNAT5-GD
5
