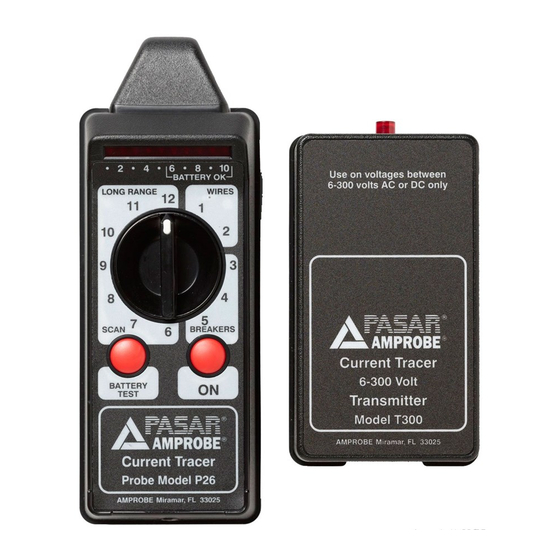
Amprobe CT-326-C Benutzerhandbuch - Seite 18
Blättern Sie online oder laden Sie pdf Benutzerhandbuch für Messgeräte Amprobe CT-326-C herunter. Amprobe CT-326-C 20 Seiten. Current tracer
Auch für Amprobe CT-326-C: Handbuch (2 seiten)

4. The transmitter's LED will blink to indicate that it is operating and that the circuit is complete
(see Fig. 10). It is not necessary to disconnect the coax cable for this application. If the coax
is connected, signal will travel toward ground in both directions and the strength will be
reduced by one half.
5. Adjust the receiver's range switch as necessary; depending on access to the cable during the
search.
6. Press the receiver's "ON" button and wait for it to calibrate.
7. Trace the coax cable with the receiver as explained in "Wires in Floors, Walls, and Ceilings."
NoTE: Make sure the coax shield is grounded at the distant end. Check with the computer
operator before disconnecting active computer cables.
Transmitter Fuse Replacement
Disconnect Instrument from power before replacing the fuse. Use a flat blade screwdriver to turn
the fuse cap 1/4 turn counterclockwise. The fuse carrier and the fuse will pop out. Remove the
fuse and replace it with the same type of 0.25 amp, 250 V normal blow fuse. (An extra fuse has
been provided in the carrying case.) Push the fuse and the fuse carrier back into the transmitter
using the screwdriver, and turn the cap clockwise until it locks.
Receiver battery Replacement
The battery in the receiver should be tested before each use. To test the battery, push the
"Battery Test" button. The LED readout should light up within the "Battery OK" section of the
display. If it does not, replace the battery.
To replace the battery, hold the receiver face down and push the battery compartment door
catch upward with your thumb; the battery cover should pop up exposing the battery. To remove
the battery, strike the back of the receiver sharply in the palm of your hand. The replacement
battery can then be inserted. Use a 9 V alkaline battery only. DO NOT FORCE THE BATTERY.
Observe the picture of the battery in the compartment as a guide to insert the battery correctly.
Replace the battery door and be sure to perform the battery test procedure after the new
battery is installed.
1.800.561.8187
Fig.10
16
www.
.com
