Amprobe 30XR-A Benutzerhandbuch - Seite 6
Blättern Sie online oder laden Sie pdf Benutzerhandbuch für Multimeter Amprobe 30XR-A herunter. Amprobe 30XR-A 14 Seiten. Professional digital multimeter
Auch für Amprobe 30XR-A: Benutzerhandbuch (14 seiten)

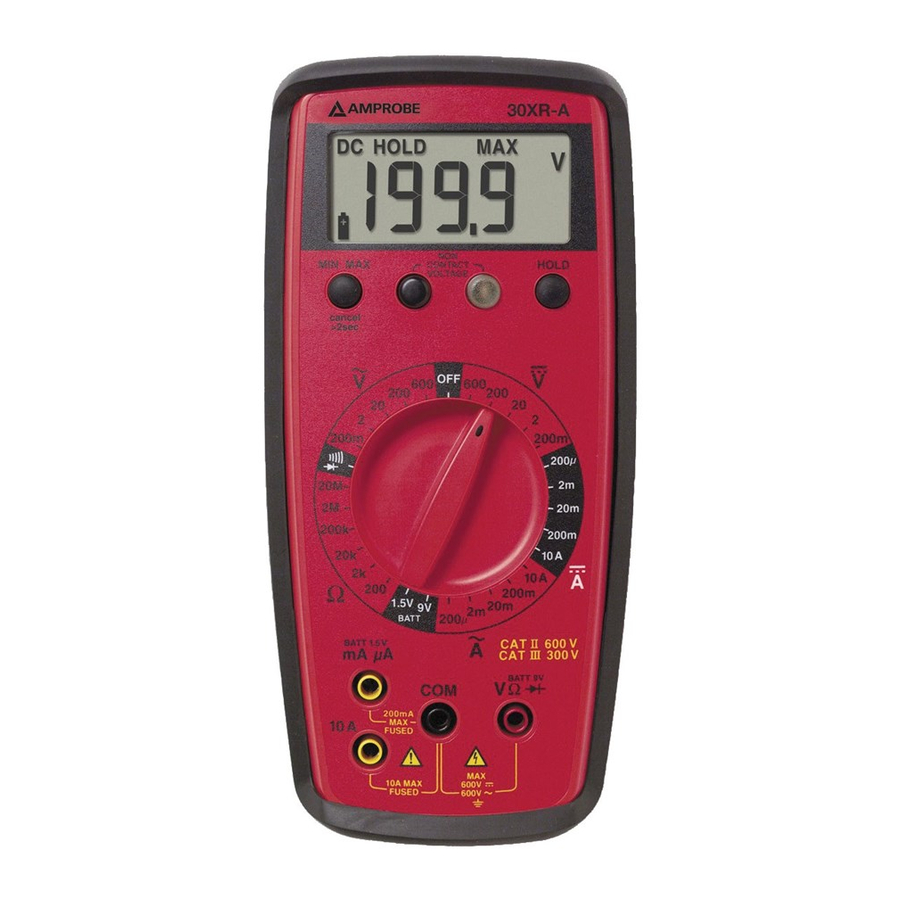
Measuring NCV (Non-Contact Voltage)
1. Range switch may be set to OFF or any function/range.
2. Test leads are not used for the NCV test.
3. Press the NCV button. The display goes blank, a tone sounds and the red LED
next to the NCV button on the front panel lights up to verify that the instrument
is operational. While pressing the button hold the top-center of the meter
(sensor location) close to the conductor/circuit in question.
4. If a voltage of in the range of 70 to 600 V ac is present, a tone sounds and the
red LED next to the NCV button on the front panel lights up.
Testing Battery Voltage (1.5 and 9 volt)
1. Set the Range Switch to the appropriate BATT setting, 1.5 V or 9 V.
2. Connect the Test Leads: Red to BATT 1.5 V or BATT 9 V, Black to COM.
3. Connect the Test Probes across the battery. The meter applies an appropriate
load to the battery.
4. Read the display. A good 1.5 volt battery should measure >1.2 V, and a good
9 volt battery should measure > 7.2 V.
Additional Features
Input Lead Warning
The 30XR-A emits a continuous tone to indicate that the user has placed the unit in
a potentially dangerous configuration. Specifically, a test lead is in a current
connector and the Range Switch is set to measure some other function. If, in this
configuration, the DMM is connected to a voltage source, very high and potentially
dangerous current could result. The meter includes fast acting fuses as additional
protection for all current ranges.
MIN MAX Measurements
XWWARNING
To avoid erronoeus readings, do not change the position of the
Function/Range Switch while the MIN MAX function is enabled.
The MIN MAX function works within the active measurement mode to capture and
display the minimum or maximum reading associated with that measurement.
Pressing the MIN MAX button for less than 1 second enables the function and
shows MIN or MAX along with the appropriate minimum or maximum reading on
the display. Each subsequent press toggles between the two modes. To exit the
function, press the MIN MAX button for more than 1 second.
HOLD Measurements
XWWARNING
To avoid erronoeus readings, do not change the position of the
Function/Range Switch while the HOLD function is enabled.
The HOLD function is used to make a measurement and hold the reading after
removing the leads from the test circuit. Pressing the HOLD button during a
measurement will capture and hold the reading. Pressing the HOLD button again
will release the display for subsequent measurements.
4
All manuals and user guides at all-guides.com
See Figure
-8-
See Figure
-9-
