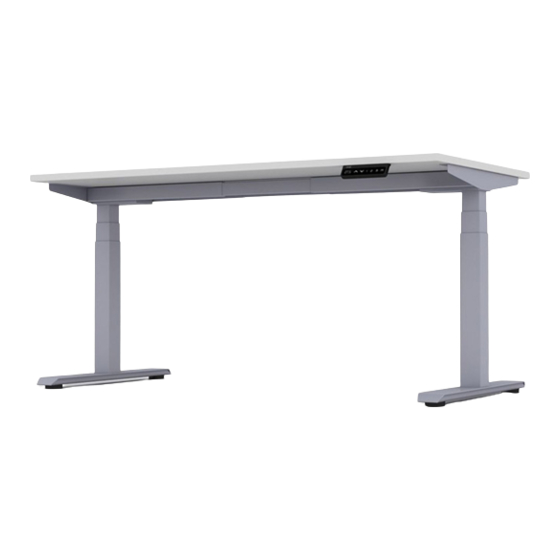
AMQ ACTIV-Pro Installationshandbuch - Seite 8
Blättern Sie online oder laden Sie pdf Installationshandbuch für Inneneinrichtung AMQ ACTIV-Pro herunter. AMQ ACTIV-Pro 12 Seiten. Sit-to-stand table
Auch für AMQ ACTIV-Pro: Benutzerhandbuch (7 seiten), Montageanleitung (16 seiten), Handbuch für Benutzer und Fehlersuche (12 seiten)

Phase 6
Worksurface Mounting
1
To attach the worksurface, start by laying the worksurface
down on the floor with the top down.
2
Lay the base assembly upside down on top of the
worksurface.
3
Double check to ensure that the base is properly positioned
on the underside of the worksurface, and then attach with
wood screws.
NOTE:
The worksurface should be center aligned with the
cantiliver depth and should have equal amount of overhang
on each end.
P8
Please contact
7. Work-surface mounting
1
To attach the worksurface, place the worksurface with the top facing down
2
Lay the base assembly upside down on the top of the worksurface
3
Ensure that the base is properly positioned to the worksurface
4
Attach the base and hand-set to the worksurface using wood screws
5
The worksurface depth sould be center aligned with the cantilliever depth
and should have equal amount of overhang on each end
M5-16mm x 2
M5-20mm x 18
M5-16mm x 18
M5-20mm x 2
for
for
for
for
Handset
Worksurface
Handset
Worksurface
if you are missing any parts, have difficulty with assembly, or have any product related questions.
ACTIV-Pro Installation Guide
