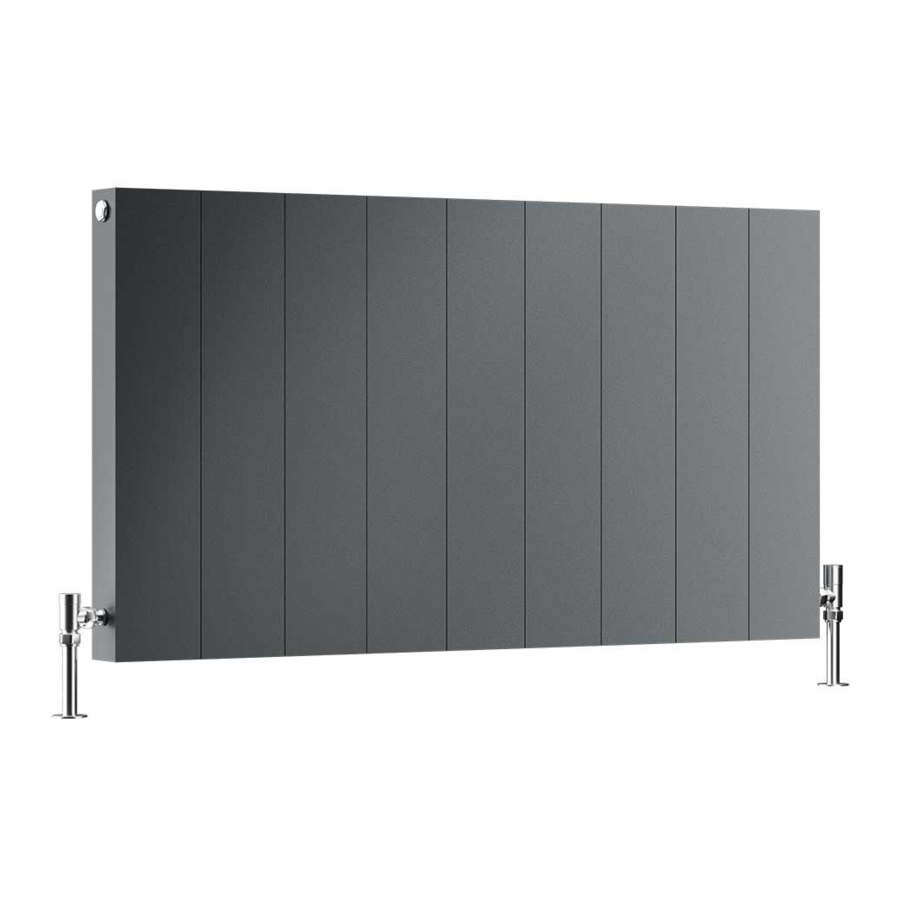
DQ Vela Electric Einbau und Befestigung - Seite 3
Blättern Sie online oder laden Sie pdf Einbau und Befestigung für Heizgerät DQ Vela Electric herunter. DQ Vela Electric 4 Seiten.
Auch für DQ Vela Electric: Anleitung Handbuch (18 seiten), Anweisungen (2 seiten)

THERMOSTAT INSTRUCTION MANUAL
Please note: The clock needs to be set before use.
Setting
the clock
Program
Mode
Night
Mode
Setting
the
program
Mode
24H / 7
day.
Setting the clock can only
be done while the unit is in
"stand by "mode.
Press and hold the mode
button until SET appears
on the screen, then press
the + - buttons to advance
the time, holding down the
buttons will advance the
time more quickly. Once
the time is set press the
mode button to confirm.
You will then need to
select a day from 1 to 7 by
pressing + - buttons to
scroll and mode button to
confirm.
When the unit is turned on
and in program mode
(with the arrow pointing to
the sun or moon and clock
symbols at the same time)
the temperature can only
be set by selecting the
required temperature in
Comfort and Night modes.
To enter night mode - push
the mode button until the
arrow is pointing to the
moon
symbol.
The
reduced temperature can
be adjusted using the +
and - buttons.
To set the daily thermostat you must be in a programme mode (this is
shown by the arrow pointing to the sun or moon and clock symbols at
the same time).
Push and hold the mode button for 5 seconds until "PRO" is shown on
the screen.
Scroll using the + - buttons to select the day (D1 = Monday through to D7
= Sunday) pressing mode button to confirm.
Push the mode by button to enter the programme mode for that day.
Please note the lines on the left-hand side of the unit, when there is a
line the program will be in comfort mode and when there is not, it will
be in night mode. The time is also shown on the controller for reference.
Press the + button to set when you would like the program to be comfort
and – button for night mode.
Push and hold the mode button to return to day selection and repeat for
each day. Press mode to return back to the program when complete.
Standby
Mode
Comfort
Mode
Antifreeze
Mode
To turn the unit on or enter
"stand by" mode Press and
Hold the stand by button
for 2 seconds. When in
"stand by" the red light at
the bottom left of the
screen will be lit, when the
unit is on the green button
will be showing.
To enter this mode, push
the mode button until the
arrow is pointing to the
sun symbol only.
In this setting the
temperature will be
regulated to the value set
on the screen. The
temperature can be
adjusted by using the +
and – buttons on your
controller.
To enter the antifreeze
mode - push the mode
button until the arrow is
pointing to the snow flake
symbol. The unit will be
activated
if
the
temperature falls below 7
degrees C.
