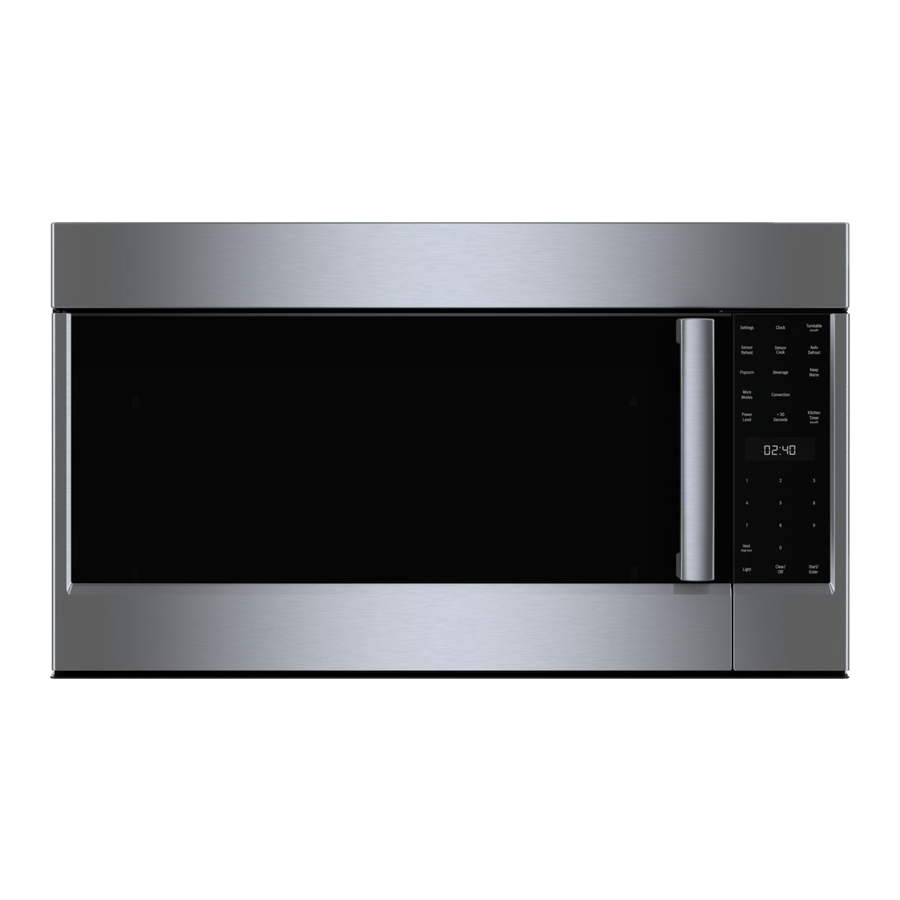
Bosch 800 Series Installationshandbuch - Seite 11
Blättern Sie online oder laden Sie pdf Installationshandbuch für Geschirrspüler Bosch 800 Series herunter. Bosch 800 Series 40 Seiten. Built-in wall ovens
Auch für Bosch 800 Series: Installationsanleitung Handbuch (24 seiten), Installationshandbuch (40 seiten), Handbuch für Gebrauch und Pflege (12 seiten), Installationshandbuch (23 seiten), Installationshandbuch (28 seiten), Installationshandbuch (32 seiten), Gebrauchsanweisung (32 seiten), Installationshandbuch (32 seiten), Schnellstart- und Sicherheitshandbuch (7 seiten), Handbuch für Gebrauch und Pflege (40 seiten), Installationshandbuch (32 seiten), Installationsanleitung Handbuch (40 seiten), Installationshandbuch (48 seiten), Handbuch für Gebrauch und Pflege (33 seiten), Handbuch für Gebrauch und Pflege (49 seiten), Schnellstart-Handbuch (7 seiten), Schnellstart- und Sicherheitshandbuch (13 seiten), Installationshandbuch (32 seiten), Service-Handbuch (36 seiten), Installationsanleitung Handbuch (29 seiten), Handbuch für Gebrauch und Pflege (24 seiten), Handbuch für Gebrauch und Pflege (40 seiten), Installationsanleitung Handbuch (28 seiten)

