Advanced Elements STRAITEDGE AE1006 Owner's Benutzerhandbuch - Seite 5
Blättern Sie online oder laden Sie pdf Benutzerhandbuch für Boot Advanced Elements STRAITEDGE AE1006 Owner's herunter. Advanced Elements STRAITEDGE AE1006 Owner's 12 Seiten. Inflatable kayak
Auch für Advanced Elements STRAITEDGE AE1006 Owner's: Benutzerhandbuch (20 seiten)

To begin inflating your kayak, you will need a Bellows Foot Pump (FAQ) or a Double
Action Hand Pump (FAQ) and your Valve Adaptor (FAQ). The Valve Adaptor can be
located in the seat pocket with the repair kit. Never use compressors, CO2 or
compressed air as they may damage you kayak.
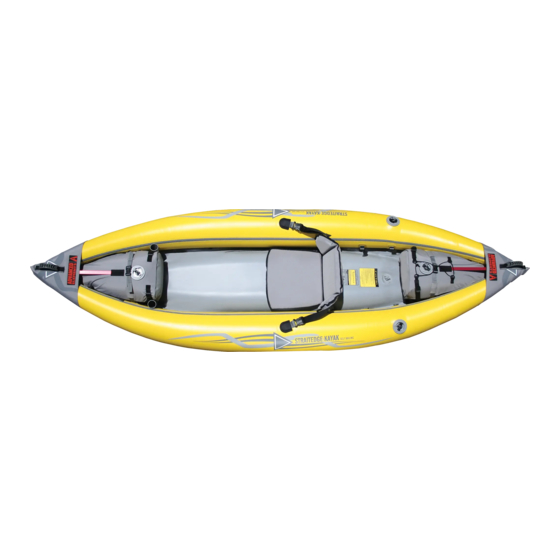
Diagram of kayak valves
5
Inflating Instructions
Important: Before inflating, check to be sure that the kayak is completely assembled.
Inflate your kayak in the following order. Failure to follow these instructions may
cause damage to your kayak. Do not over inflate
1.Locate chamber 1. Unscrew butterfly cap and check that plunger valve is closed (fig.
1). Attach valve adaptor (fig. 2). Inflate Chamber 1 until firm to the touch (2.5 PSI).
OPERATING THE "PLUNGER" VALVES
2
1
STEM UP
(VALVE CLOSED)
INFLATE
In this position: Air can be pumped
in, but air will not escape when the
pump nozzle is removed. NOTE:
12volt pumps may not generate
enough pressure to bypass the
spring loaded plunger.
2. Proceed to chamber 2. Inflate chamber 2 until StraitEdge tube is firm to
touch(2.5 PSI). Close butterfly caps on chambers 1 and 2 tightly.
1. PUSH STEM INWARD
2. TWIST STEM 90 DEGREES
3. THEN RELEASE
fig.1
(VALVE LOCKED OPEN)
In this position: Air can be
released from the chamber. You
can also inflate in this position but
air will flow out when the pump
nozzle is removed.
3
4
2
1
STEM DOWN
DEFLATE
1
6
2
PUMP
HOSE
fig.2
SCREW ADAPTER
CLOCKWISE INTO
VALVE
