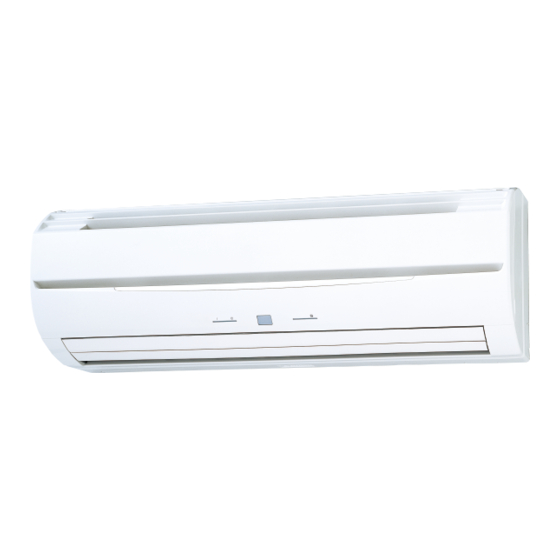
AirStage ASYA09GACH Installationshandbuch - Seite 5
Blättern Sie online oder laden Sie pdf Installationshandbuch für Klimagerät AirStage ASYA09GACH herunter. AirStage ASYA09GACH 15 Seiten. Indoor unit (wall mounted type)
Auch für AirStage ASYA09GACH: Betriebshandbuch (6 seiten)

Installation method of Drain cap
● Please put the heat insulation inside all along.
● Use a hexagonal wrench (4mm at opposite side) to insert the drain cap, till the drain
cap contacts the tip of drain cock.
No gap
Hexagonal
wrench
[Removal method of drain hose]
Remove the screw at the left of drain hose and pull out drain hose.
Screw
Drain fi xture (blue)
[Installation method of drain hose]
Vertically insert the drain hose toward the inside, so that the drain fi xture (blue) can
accurately align with the screw hole around the drain cock.
After inserting and before replacing, please reinstall and fi x the removed screws.
Drain fi xture (blue)
Screw hole
Be sure to install around the drain hose connector.
As the screw is inside, be sure to use screwdriver treated with magnet.
3.3.5. Installing the indoor unit
(1) After passing the indoor piping and drain hose through the wall hole, hang the indoor
unit on the hooks at the top and bottom of the wall hook bracket.
Connection pipe
(2 mm dia.)
Indoor unit
(Fitting)
(2) Remove the intake grille.
1 Open the intake grille.
Intake grille
2
1
2 Pull down the knob.
3 Lift the intake grille upward, until the axle at the top of the intake grille is removed.
(3) Remove the front panel.
1 The thumb is hung on the lower part as shown in the fi gure, and it pulls to the
front, pushing [▲] mark, and bottom hooks (2 position) is removed from wall hook
bracket.
2 The front panel bottom is pulled to the front, and bottom hooks is removed indoor
unit.
No gap
Drain Cock
Insulation
Drain cap
Drain hose
Screw
Drain hose
Drain cock
Top hooks
Wall hook bracket
Bottom hooks
2
1
Intake grille
Knob
Push
Push
[▲]
mark
3 The front panel is pulled to the front, raising the upper surface, and a front panel
is removed.
(4) Insert the spacer, etc. between the indoor unit and the wall hook bracket and
separate the bottom of the indoor unit from the wall.
Indoor unit
Wall hook bracket
4. PIPE INSTALLATION
Be more careful that foreign matter (oil, water, etc.) does not enter the piping than with
refrigerant R410A models. Also, when storing the piping, securely seal the openings
by pinching, taping, etc.
While welding the pipes, be sure to blow dry nitrogen gas through them.
4.1. Selecting the pipe material
Do not use existing pipes from another refrigeration system or refrigerant.
Use pipes that have clean external and internal sides without any contamination which
may cause trouble during use, such as sulfur, oxide, dust, cutting waste, oil, or water.
It is necessary to use seamless copper pipes.
Material : Phosphor deoxidized seamless copper pipes
It is desirable that the amount of residual oil is less than 40 mg/10 m.
Do not use copper pipes that have a collapsed, deformed, or discolored portion
(especially on the interior surface). Otherwise, the expansion valve or capillary tube
may become blocked with contaminants.
Improper pipe selection will degrade performance. As an air conditioner using R410A
incurs pressure higher than when using conventional (R22) refrigerant, it is necessary
to choose adequate materials.
•
Thicknesses of copper pipes used with R410A are as shown in the table.
•
Never use copper pipes thinner than those indicated in the table even if they are
available on the market.
Thicknesses of Annealed Copper Pipes (R410A)
Pipe outside diameter [mm (in.)]
6.35 (1/4)
9.52 (3/8)
12.70 (1/2)
15.88 (5/8)
19.05 (3/4)
4.2. Pipe requirement
Refer to the installation manual for the outdoor unit for description of allowable pipe
length and height difference.
Use pipe with water-resistant heat insulation.
Screws
(4 position)
Front panel
Wall hook bracket
Front panel
Spacer
CAUTION
CAUTION
Thickness [mm]
0.80
0.80
0.80
1.00
1.20
CAUTION
En-4
