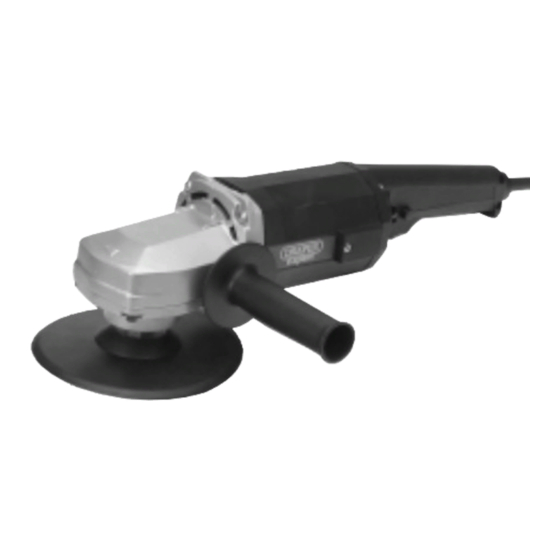
Draper ANGLE POLISHER & SANDER Anleitung Handbuch - Seite 7
Blättern Sie online oder laden Sie pdf Anleitung Handbuch für Sander Draper ANGLE POLISHER & SANDER herunter. Draper ANGLE POLISHER & SANDER 12 Seiten. Angle polisher & sander

IMPORTANT
Check before plugging in that the mains voltage
agrees with the voltage specified on the rating
plate of the machine.
SWITCH
The switch fitted to the tool prevents accidental
machine starting. However, a locking position has
also been provided.
In order to lock the switch in the ON position
push the trigger ✪✌ and the locking push button
✫✌.
Attention: to unlock the switch, press trigger ✪✌.
WARNING
Before inserting the plug into the socket,
check that the switch is in the unlocked
position. When the tool is not to be used for
long periods remember to leave the switch
device in the unlocked position.
SPEED CHANGE (AP1200V)
Model (AP1200V) has a switch ✬✌ which permits
the speed of the tool to be changed (Fig.3).
The positions are polishing (speed I) and sanding
(speed II).
FITTING THE FLEXIBLE RUBBER BACKING
PAD FOR POLISHING (AP1000)
In order to fit the rubber pad place a 19mm
spanner ✭✌ on to the shaft ✮✌ and push the
rubber backing pad ✯✌ on to the shaft ✮✌.
Secure by screwing the flange ✱✌ on to the
spindle and tighten using pin spanner ✳✌
(supplied with the machine) (Fig.4). A Lambswool
polishing bonnet (see optional accessories) ✰✌
can then be fitted over the rubber backing pad
✯✌ (Fig.4a).
FITTING THE NYLON BACKING PLATE FOR
SANDING
The nylon backing plate is used for sanding, and
is fitted to model AP1200V only. To fit the plate,
place a 19mm spanner ✭✌ on to the shaft ✮✌.
Push the nylon backing plate ✴✌ onto the shaft
✮✌. Place the abrasive disc ✵✌ on to the backing
plate ✴✌ and secure into place by screwing the
flange ✱✌ on to the spindle and tighten using pin
spanner ✳✌ (supplied with the machine) (Fig.5).
NOTE:
AP1200V is only supplied with nylon backing
plate. For rubber backing pad see optional
accessories – page 8.
IMPROPER USE
The functions and use of this tool are those
exclusively indicated in this manual. Any other
use of the tool is explicitly forbidden !
OPERATION AND USE
Fig.2
Fig.3
Fig.4
Fig.4a
✯✌
Fig.5
✭✌
✴✌
- 6 -
✫✌
✪✌
✬✌
✮✌
✭✌
✯✌
✱✌
✳✌
✳✌
✱✌
✰✌
✮✌
✵✌
