Bosch FAP-OC 500Series Gebrauchs- und Pflegeanleitung / Installationsanleitung - Seite 35

Blättern Sie online oder laden Sie pdf Gebrauchs- und Pflegeanleitung / Installationsanleitung für Backofen Bosch FAP-OC 500Series herunter. Bosch FAP-OC 500Series 40 Seiten. Built-in wall ovens
Auch für Bosch FAP-OC 500Series: Installationsanleitung Handbuch (21 seiten), Gebrauchsanweisung Handbuch (40 seiten), Installationshandbuch (6 seiten), Informationen zum Produkt (40 seiten), Installationshandbuch (28 seiten), Benutzerhandbuch (48 seiten), Benutzerhandbuch (48 seiten), Installationshandbuch (28 seiten), Handbuch für Gebrauch und Pflege (44 seiten), Installationshandbuch (32 seiten), Kurzreferenz-Handbuch (4 seiten), Handbuch für Gebrauch und Pflege (27 seiten), Installationshandbuch (24 seiten), Installationshandbuch (32 seiten), Handbuch für Gebrauch und Pflege (24 seiten), Installationshandbuch (28 seiten), Service-Handbuch (41 seiten), Handbuch für Gebrauch und Pflege (21 seiten), Installationshandbuch (32 seiten), Service-Handbuch (36 seiten), Installationshandbuch (32 seiten), Schnellstart- und Sicherheitshandbuch (13 seiten)
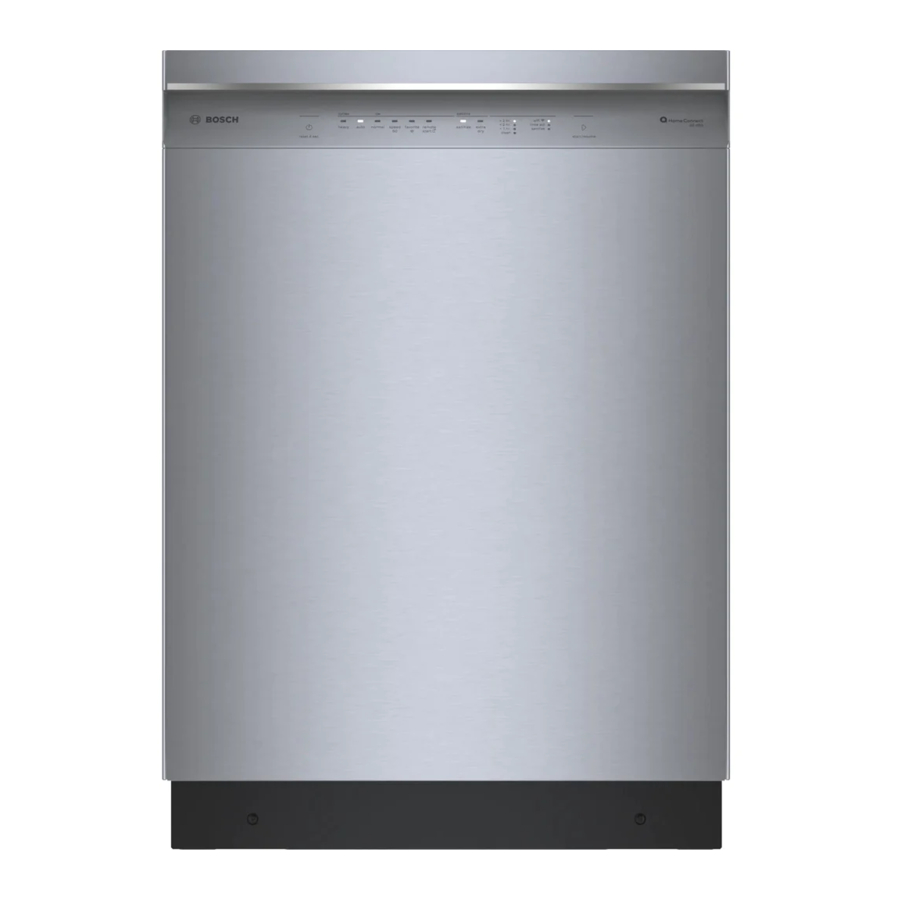
Bosch FAP-OC 500Series Gebrauchs- und Pflegeanleitung / Installationsanleitung

Error messages

Display
flashes
è
r
E:93
E:32
(alternating display with
END when program is
finished)
E:18
Others

Customer service

Contact the Customer Service department if your
appliance needs repair. Our representatives will be
happy to provide details for an authorized service
provider close to you.
E-Nr. and FD (serial) number:
When you contact Customer Service, please have the E-
Nr. (model number) and the FD (serial) number for your
appliance available. You can find the identification plate
with these numbers on this information on inside of the
appliance door or on the back of the appliance.
Questions? Please contact us. We look forward to
hearing from you!
Fault
Door not closed properly.
Cold water tap not turned on.
Supply hose for cold water kinked
or pinched closed.
Strainer in water supply hose
clogged.
Cold water pressure too low.
Hot water tap not turned on.
Supply hose for hot water kinked or
trapped.
Hot water pressure too low.
Supply hose for hot water not con-
nected correctly.
Not a fault – the unbalanced load
detection system has interrupted
the spin cycle because the laundry
is unevenly distributed.
Too much detergent used or non-
HE detergent used.
Pump is blocked (obstructed).
Measure
Check to be sure no laundry is caught in the washer
door. Close the door securely.
Turn on the cold water tap.
Eliminate the cause, replace the hose if damaged.
Clean the water inlet strainer.
~ Cleaning the water inlet strainers; Page 29
Eliminate the cause.
Turn on the hot water tap.
Eliminate the cause, replace the hose if damaged.
Eliminate the cause.
Connect both supply hoses (hot and cold water) for
hot water appliances. ~ Water connections; Page 13
Distribute small and large items of laundry evenly in
the drum. If necessary, start an additional spin pro-
gram.
Use less detergent for future loads. Only use HE deter-
gents.
~ Your washing machine is intended for; Page 5
Clean the washer drain hose and/or the drain pipe.
May need to perform pump maintenance to clear
blockage.
~ Cleaning the drain pump; Page 30
Turn off machine, wait 5 seconds and turn on again. If
the display shows again, call customer service.
35