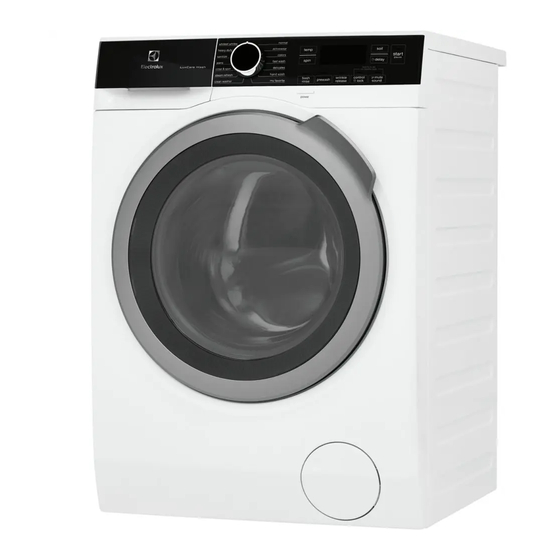
Electrolux EFLS210TIW Installationsanleitung Handbuch - Seite 2
Blättern Sie online oder laden Sie pdf Installationsanleitung Handbuch für Waschmaschine Electrolux EFLS210TIW herunter. Electrolux EFLS210TIW 33 Seiten. Front load dryer
Auch für Electrolux EFLS210TIW: Handbuch für Gebrauch und Pflege (22 seiten)

- 1. Important Safety Instructions
- 2. Installation Requirements
- 3. Installation Requirements
- 4. Installation Instructions
- 4. Removing Shipping Hardware
- 4. Installing Hole Plugs
- 4. Leveling Your Washer
- 4. Connecting Inlet Water
- 4. Installation Instructions
- 5. Accessories
- 5. Instrucciones Importantes de Seguridad
- 5. Dimensiones de la Lavadora
- 5. Piezas de Repuesto
2
WARNING
Please read all instructions before using this washer.
Recognize safety symbols, words and labels
Safety items throughout this manual are labeled with a
WARNING or CAUTION based on the risk type as described
below:
Definitions
This is the safety alert symbol. It is used to alert you to
potential personal injury hazards. Obey all safety messages that
follow this symbol to avoid possible injury or death.
DANGER
DANGER indicates an imminently hazardous situation which,
if not avoided, will result in death or serious injury.
WARNING
WARNING indicates a potentially hazardous situation which,
if not avoided, could result in death or serious injury.
CAUTION
CAUTION indicates a potentially hazardous situation which, if
not avoided, may result in minor or moderate injury.
IMPORTANT
IMPORTANT indicates installation, operation or maintenance
information which is important but not hazard-related.
TABLE OF CONTENTS
Important Safety Instructions ...............................................2-3
Installation Requirements .....................................................4-5
Installation Instructions ........................................................6-9
Accessories .......................................................................... 10
Notes ................................................................................... 11
Français ................................................................................ 12
Español ................................................................................ 22
Installation Checklist
Shipping Hardware
q Foam shipping support (in door gasket) removed and
stored
q Shipping bolts and spacers removed from rear of
appliance and stored
q Hole plugs (shipped in bag in drum) installed in holes
in backsheet
Leveling
q Washer is level, side-to-side and front-to-back
q Cabinet is setting solid on all corners
Water Supply
q Use only new hoses and verify rubber sealing
washers are installed
q HOT supply is connected to HOT inlet and COLD
supply is connected to COLD inlet
q HOT and COLD water supply turned on
q No leaks present at water supply connections or
appliance inlet connections -
recheck in 24 hours
Drain
q Stand pipe or wall drain height minimum 24"
q Drain hose snapped in "U" channel (shipped in drum)
q Drain hose secured in place with cable tie (shipped in
drum)
Electrical Power
q House power turned on
q Washer plugged in
Final Checks
q Installation Instructions and Use and Care Guide read
thoroughly
q Door locks and water enters drum when cycle starts
q Registration card sent in
